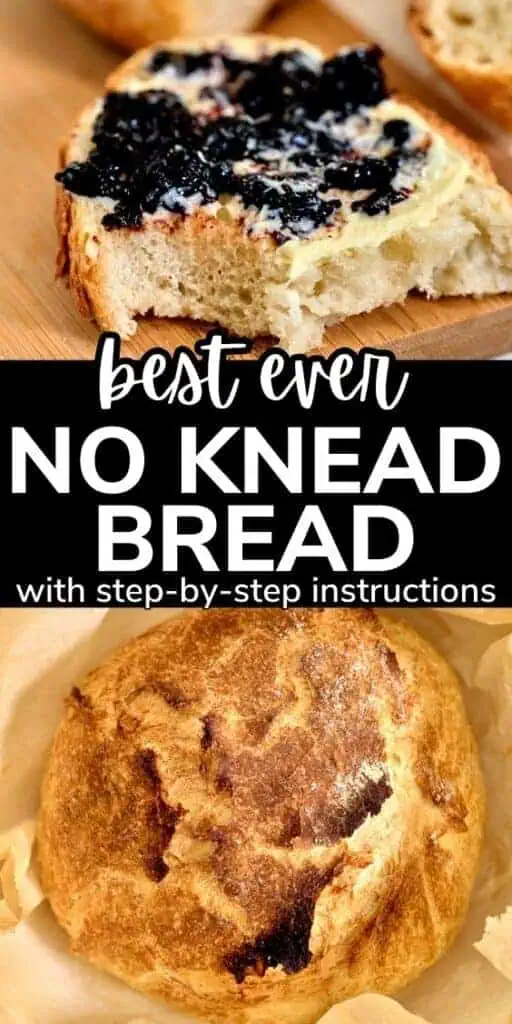
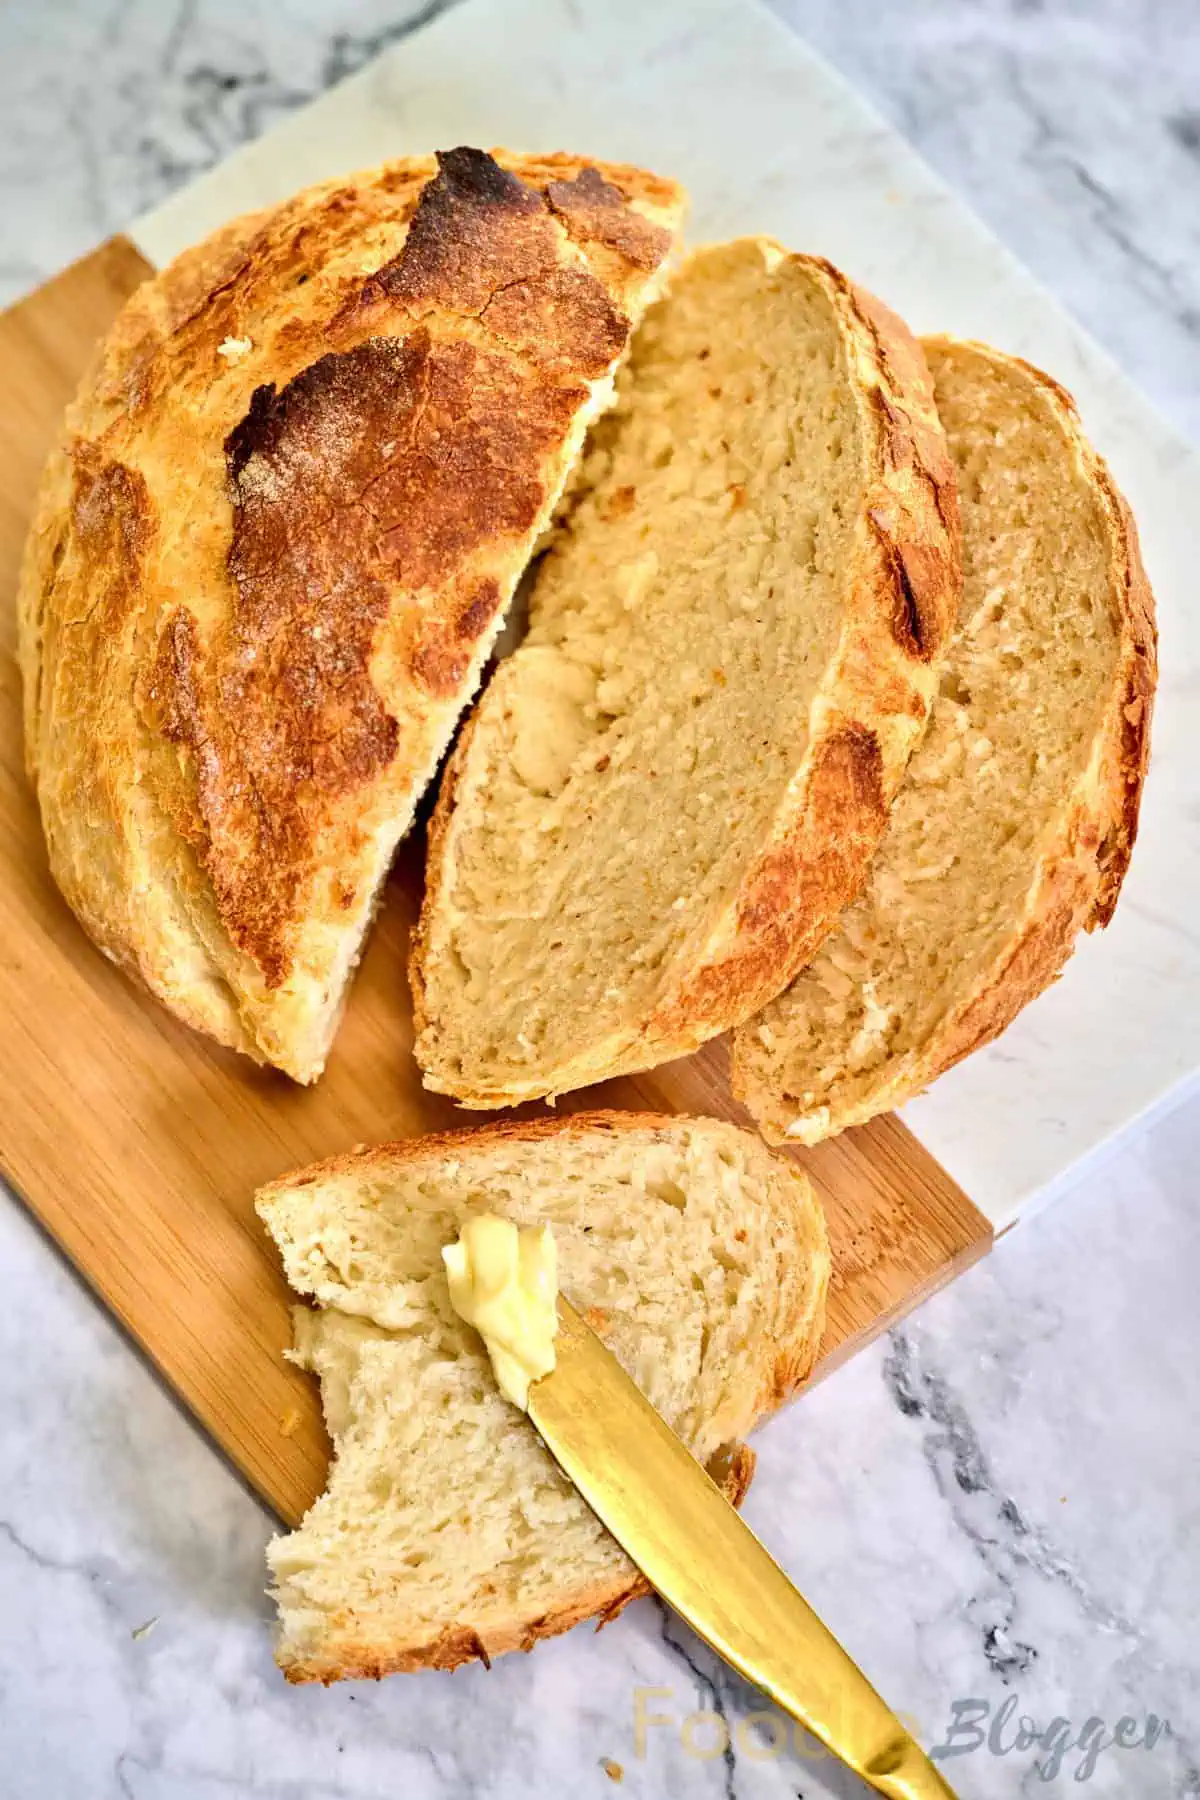
You get this rustic, bakery-style bread with a crunchy crust and a wonderfully airy, open crumb inside. Perfect for newbie bakers and seasoned pros alike, it’s like bringing the bakery to your kitchen without the fuss. Let’s get baking!
So, get ready to enjoy the wonderful smell of homemade bread! You’ll be surprised at how quick and easy it is to whip up this No Knead Bread recipe using basic kitchen tools like one bowl and a wooden spoon.
I know that I might sound unbelievable, but you won’t need any kneading skills to craft this bread-you just have to give it a shot. I’m pretty sure that you’ll be surprised by how effortlessly this bread comes together.
Just picture this: a no-fuss recipe that requires no kneading but just a sprinkle of love. As you read on, imagine the delicious aroma filling your kitchen, like a cozy family meal.
While we can’t send you the scent, we’re excited to share this simple bread recipe that’ll make your home feel warm and welcoming.
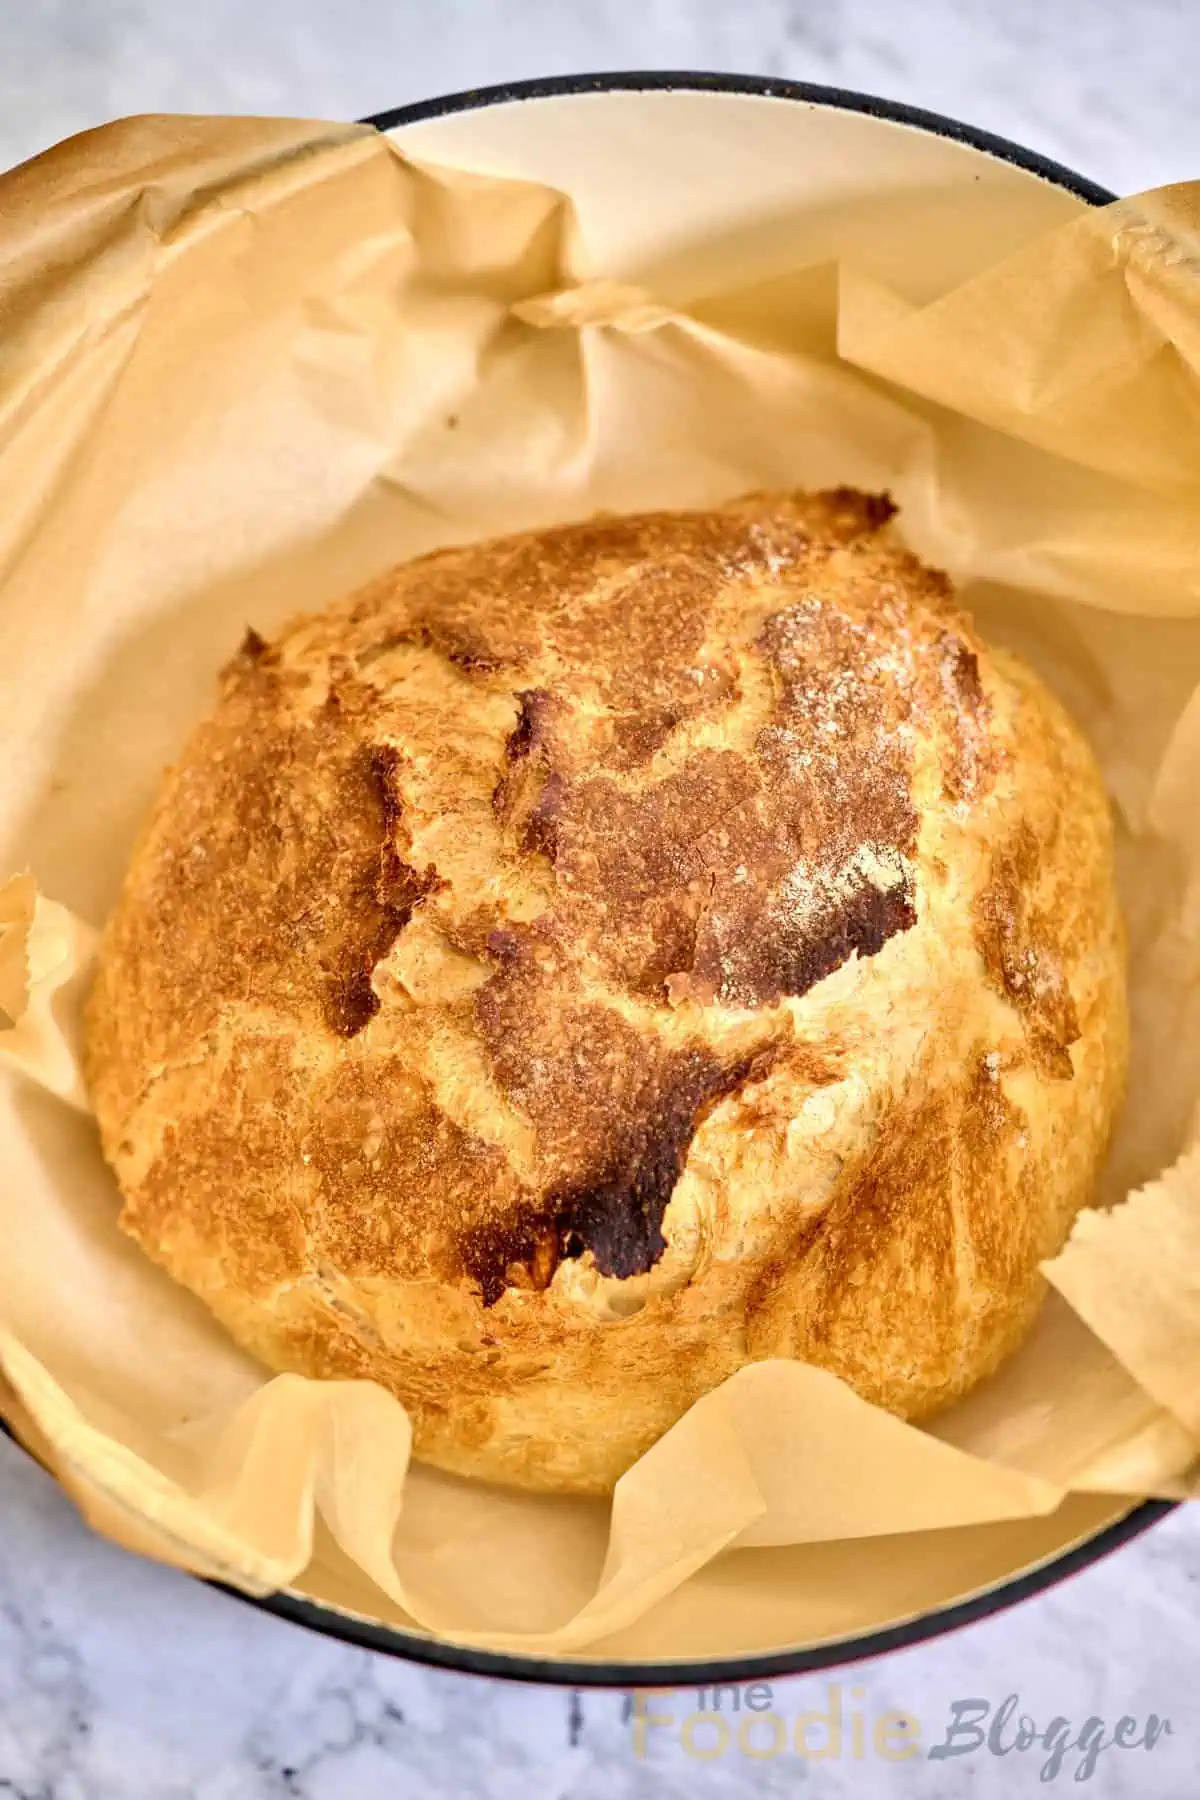
Easy No Knead Bread Recipe
Watch this quick step-by-step video to see exactly how to make the best bread!
WHY YOU LOVE THIS EASY NO-KNEAD BREAD RECIPE
- Minimal ingredients. You will love the simplicity of this no knead artisan bread as it calls for only a handful of basic pantry items.
- Super easy to make. While there is no need for kneading or any complicated techniques, this bread actually makes itself with minimal hands-on time.
- Easy for beginners. It’s so easy to make; this crusty bread can’t go wrong if you follow the directions and check our video for guidance.
- Loved by everyone. Whether you share it with family, friends, or guests, this bread is a crowd-pleaser, making it perfect for any occasion.
- Customizable recipe. Feel free to get creative and add your favorite herbs, spices, or even mix-ins like nuts or seeds for a personalized touch.
- Time-saver. With just a little work, you can enjoy the delight of homemade bread without the hassle of kneading for hours.
- Versatile recipe. This bread pairs perfectly with many dishes, from hearty soups to sandwiches, making it a versatile addition to your cooking skills.
- Affordable. This homemade bread not only tastes better but is also budget-friendly compared to those store-bought artisanal bread.
What Is No Knead Bread Exactly?
A no-knead bread is a type of bread recipe known for its simplicity and extraordinary results. Also known as miracle no knead bread, this bread recipe is made from a classic mix of ingredients like flour, water, yeast, olive oil, and salt, and then it’s left to rest and rise slowly.
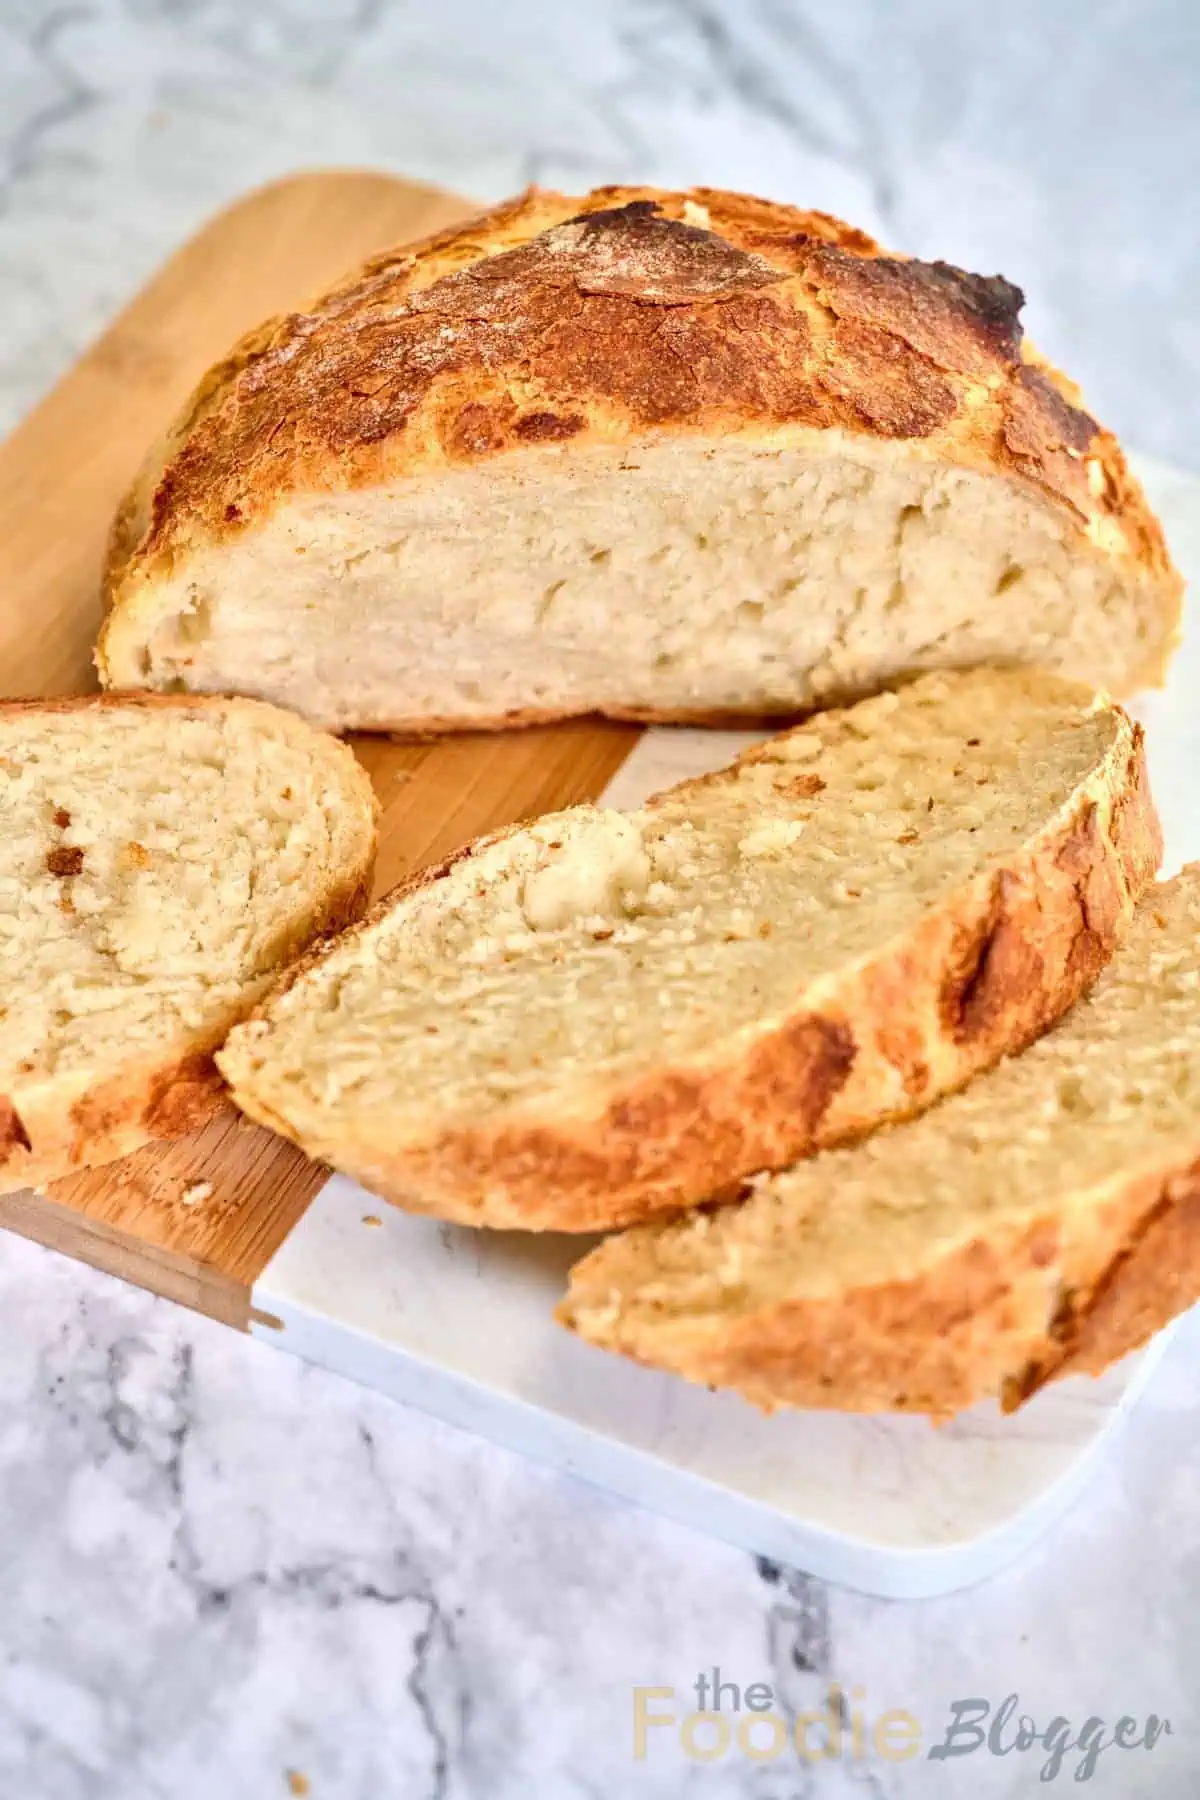
This quick crusty no knead bread recipe can be prepared in two ways: a speedy version with a 2-hour rise, and a traditional method where we allow the dough to rise overnight. This extended fermentation period allows the dough to naturally develop gluten, resulting in a rustic, artisanal-style bread with a crisp crust and an airy, open-crumb texture.
No-knead bread is extremely popular among home bakers due to its relative ease of preparation, making it accessible even for beginners. The results are quite impressive, like bread you’d find in a bakery.
Ingredients Needed
Let’s take a look at the essential ingredients on our checklist to see what’s required to make the best homemade bread.
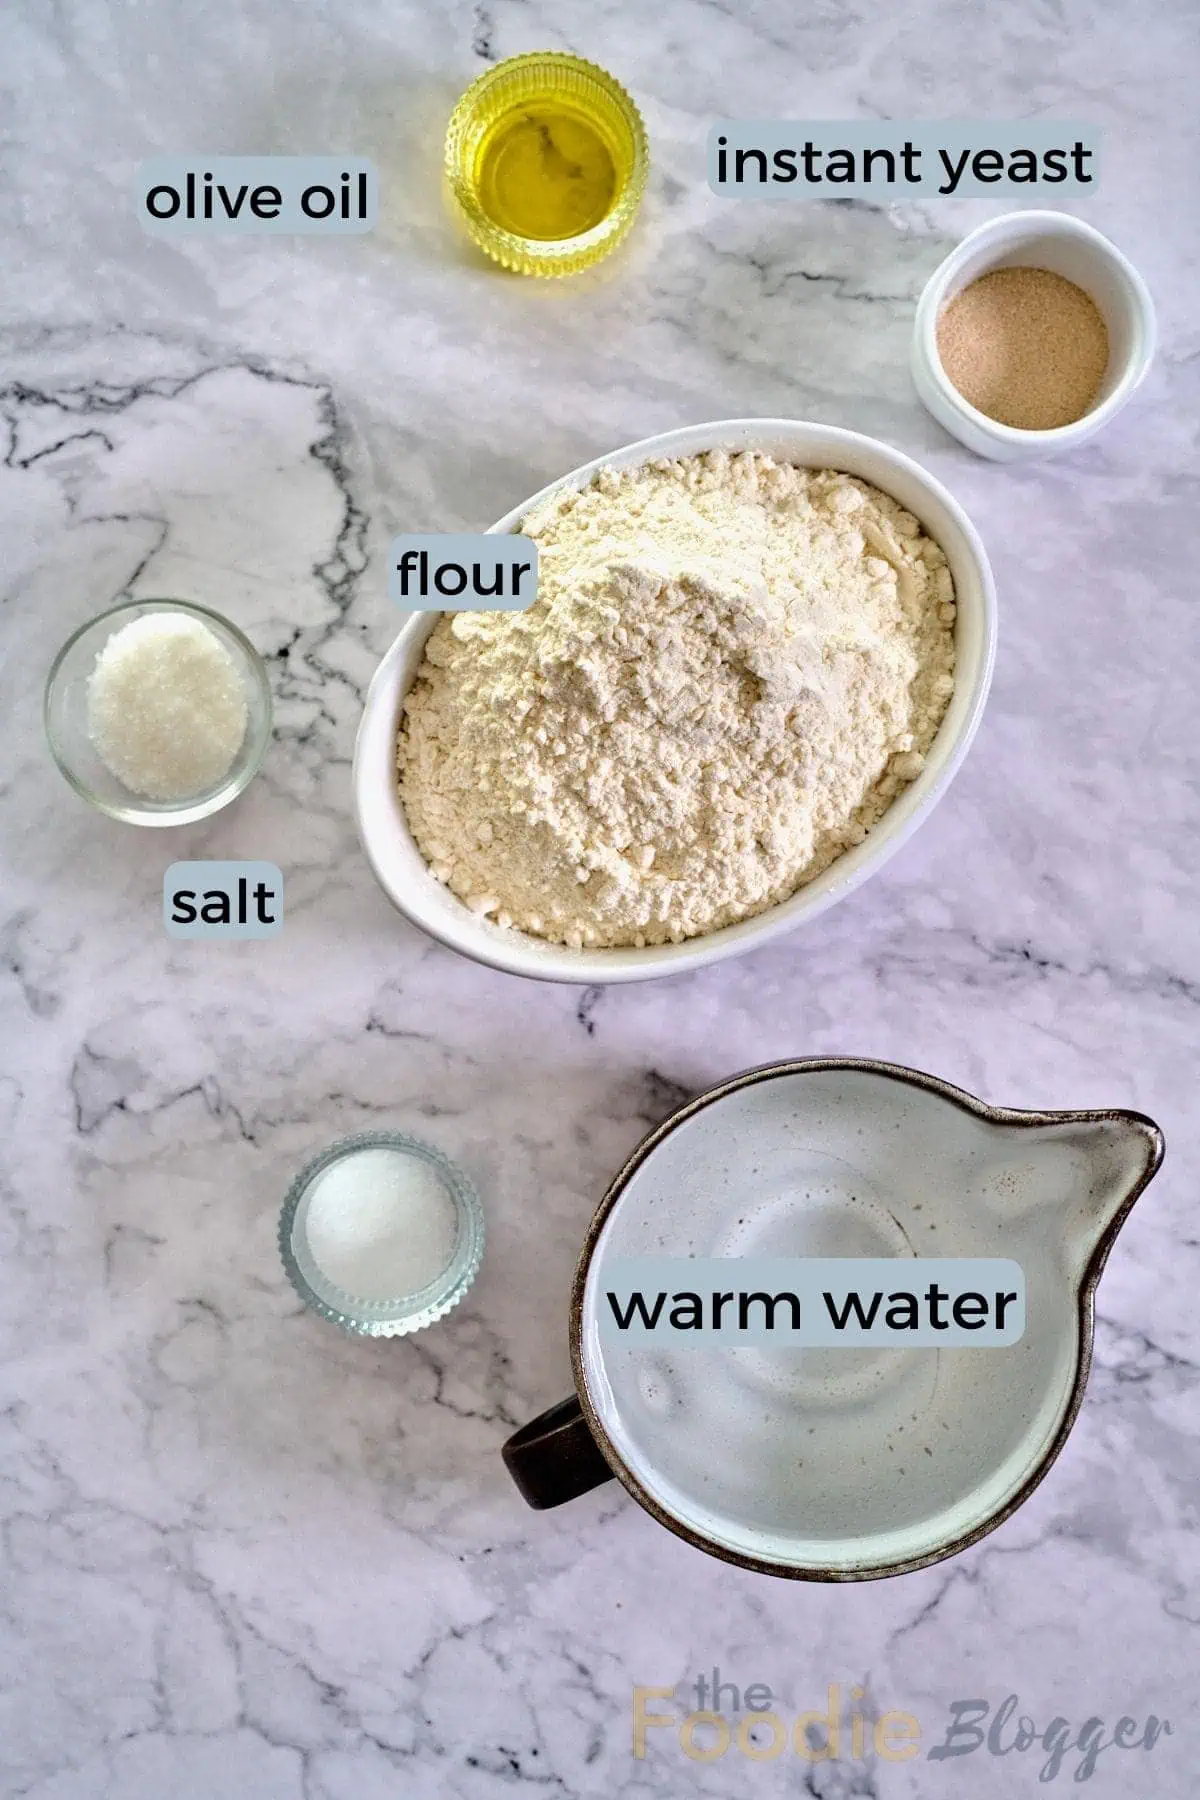
- Flour – Flour provides structure and bulk of your bread by forming gluten once combined with the water. The type of flour you use can affect the texture and flavor of your bread. I used all-purpose flour, but if you want more information about the type you can use to make this bread, you will find some interesting things below that will help you.
- Sugar – This ingredient is used to help the yeast activate and contributes to the bread’s flavor and browning.
- Yeast – I prefer instant or rapid-rise yeast because it’s quick and convenient.
- Salt enhances the bread’s flavor and helps control yeast activity. However, you can also use active dry yeast by proofing it in warm water with a pinch of sugar before incorporating it into the dough.
- Water – Warm water plays a vital role in hydrating the flour, facilitating gluten development, and enabling the dough to rise, leading to a light and airy texture. Be cautious not to use water that is too hot, as it can kill the yeast, or too cold, as it may slow down the rising process.
- Olive Oil – It adds moisture, flavor, and lends a subtle richness to the bread, enhancing the overall taste experience.
HOW TO MAKE NO-KNEAD BREAD
Now that we know all the ingredients to create this delicious no-knead bread recipe, let’s start baking.
With this foolproof method in hand, you’re going to make a perfect loaf of bread that will become a staple in your kitchen, one you’ll be making over and over again.
Prepare The Dough
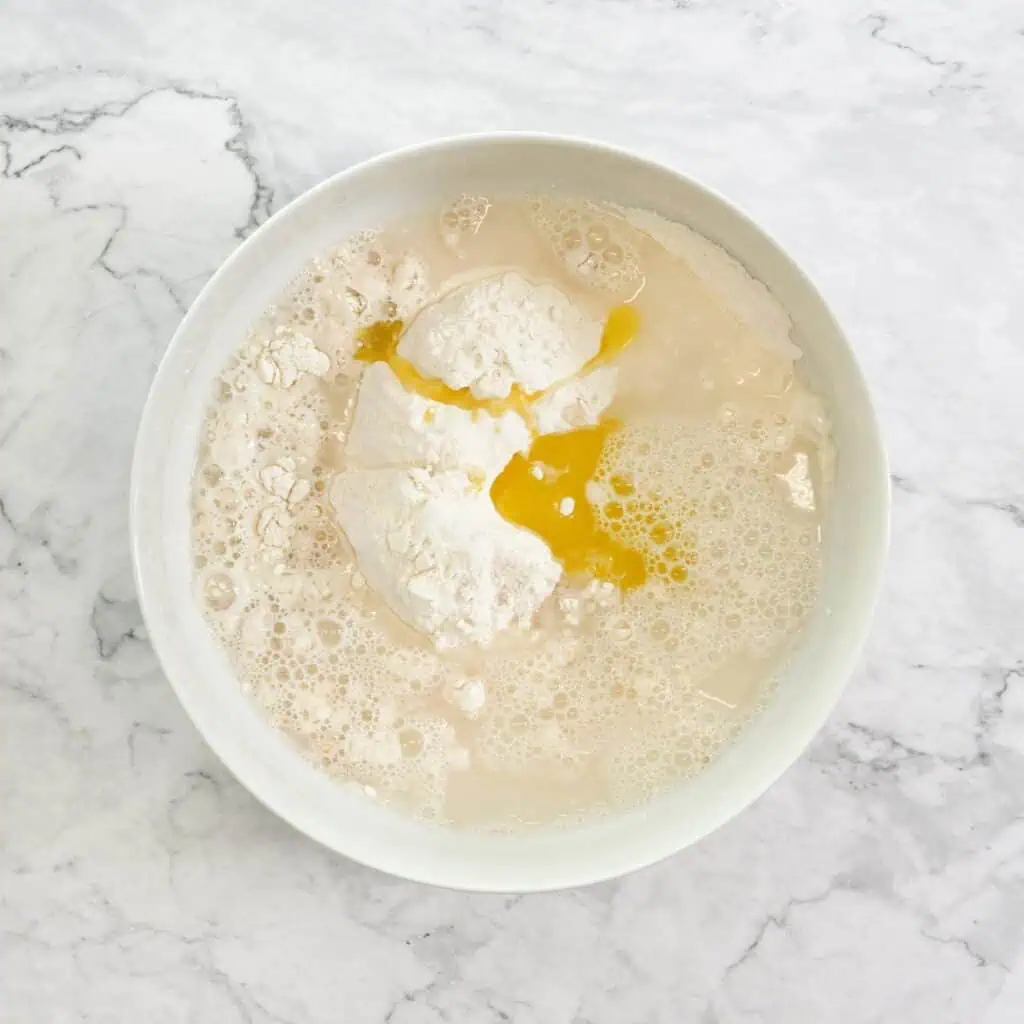
In a large mixing bowl, combine the flour, sugar, salt, and active dry yeast (you don’t have to activate the yeast separately).
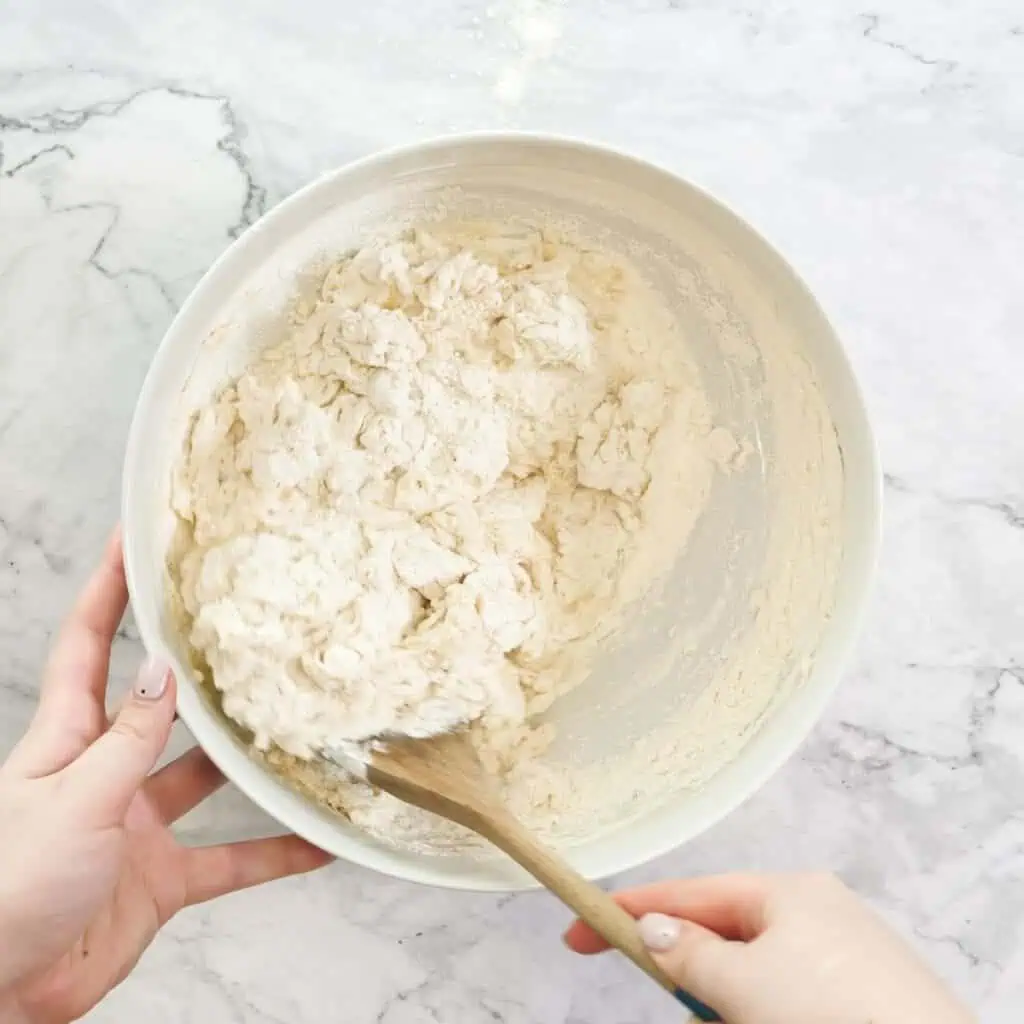
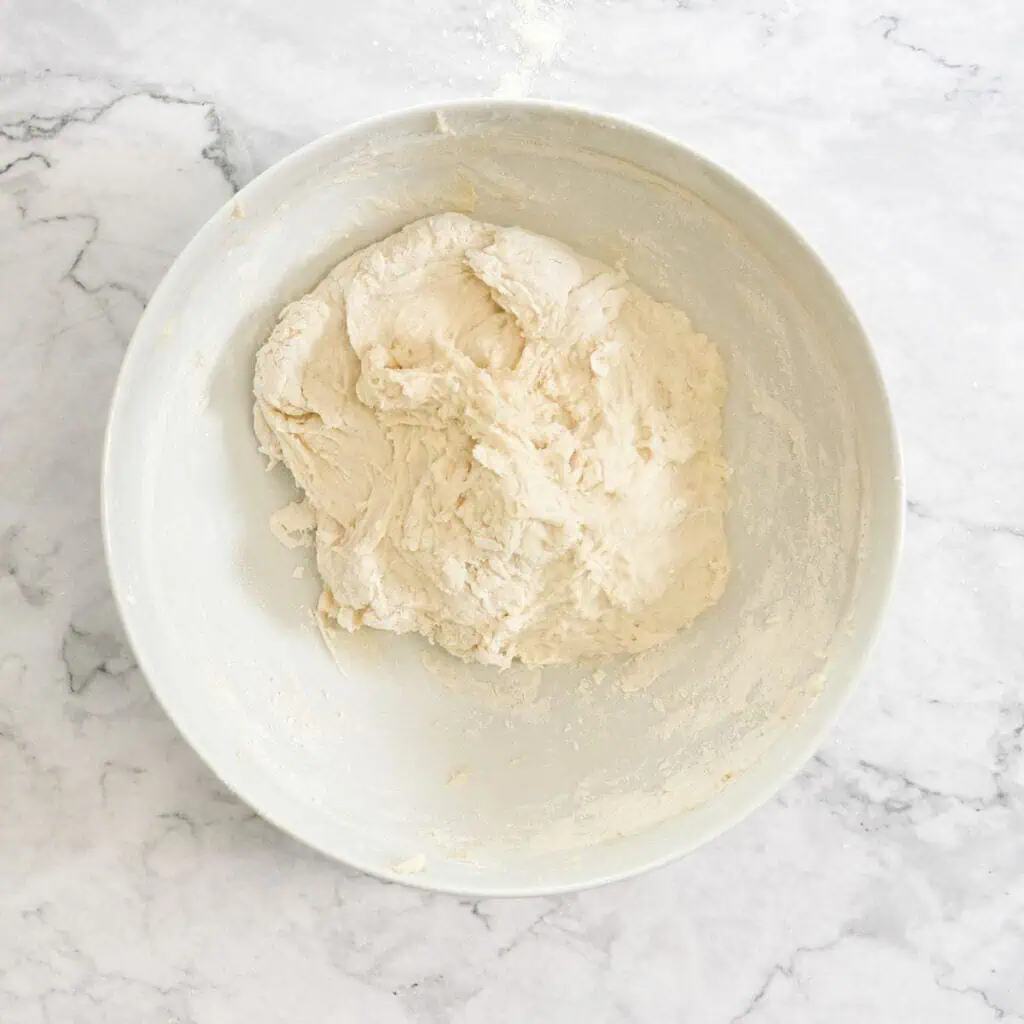
Pour the warm water (not hot, tap water is fine) and olive oil over the dry ingredients and stir until all the ingredients are well combined. The dough should be sticky.
Rest And Rise
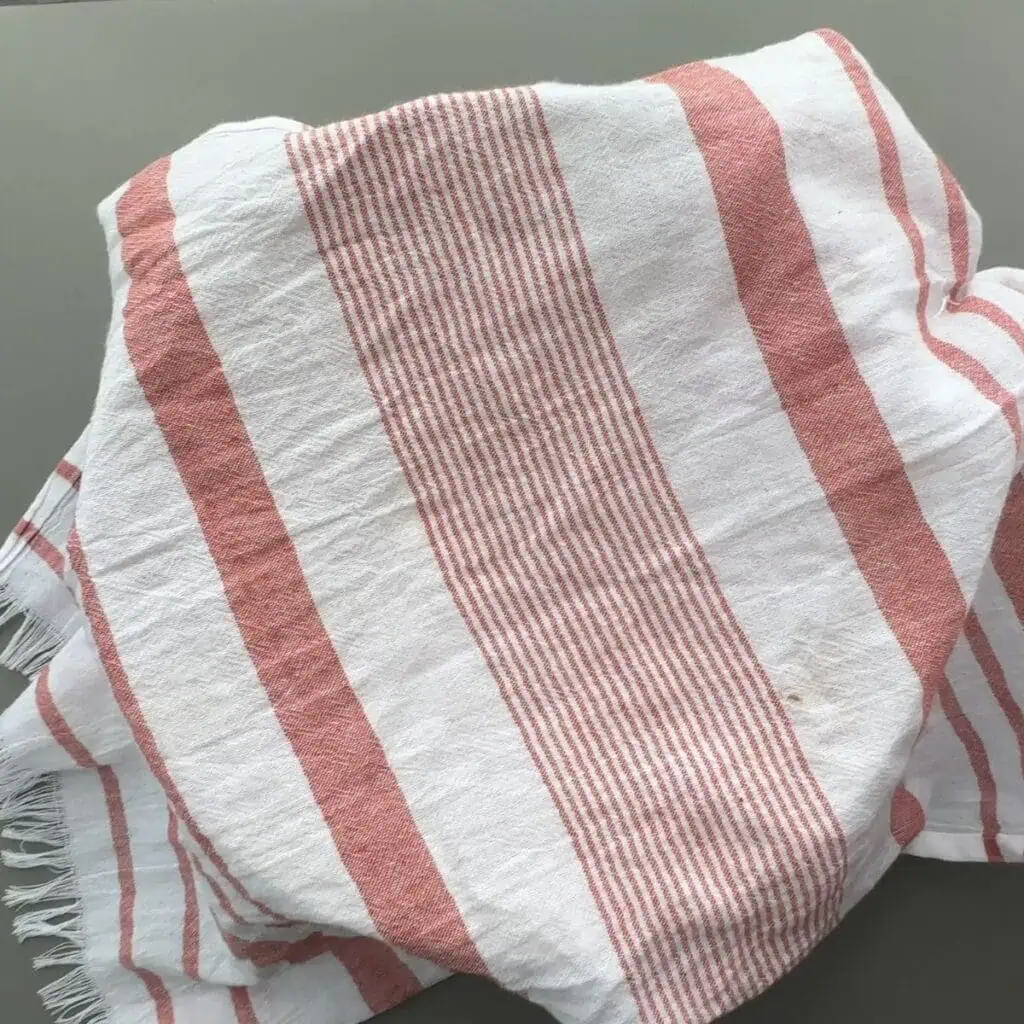
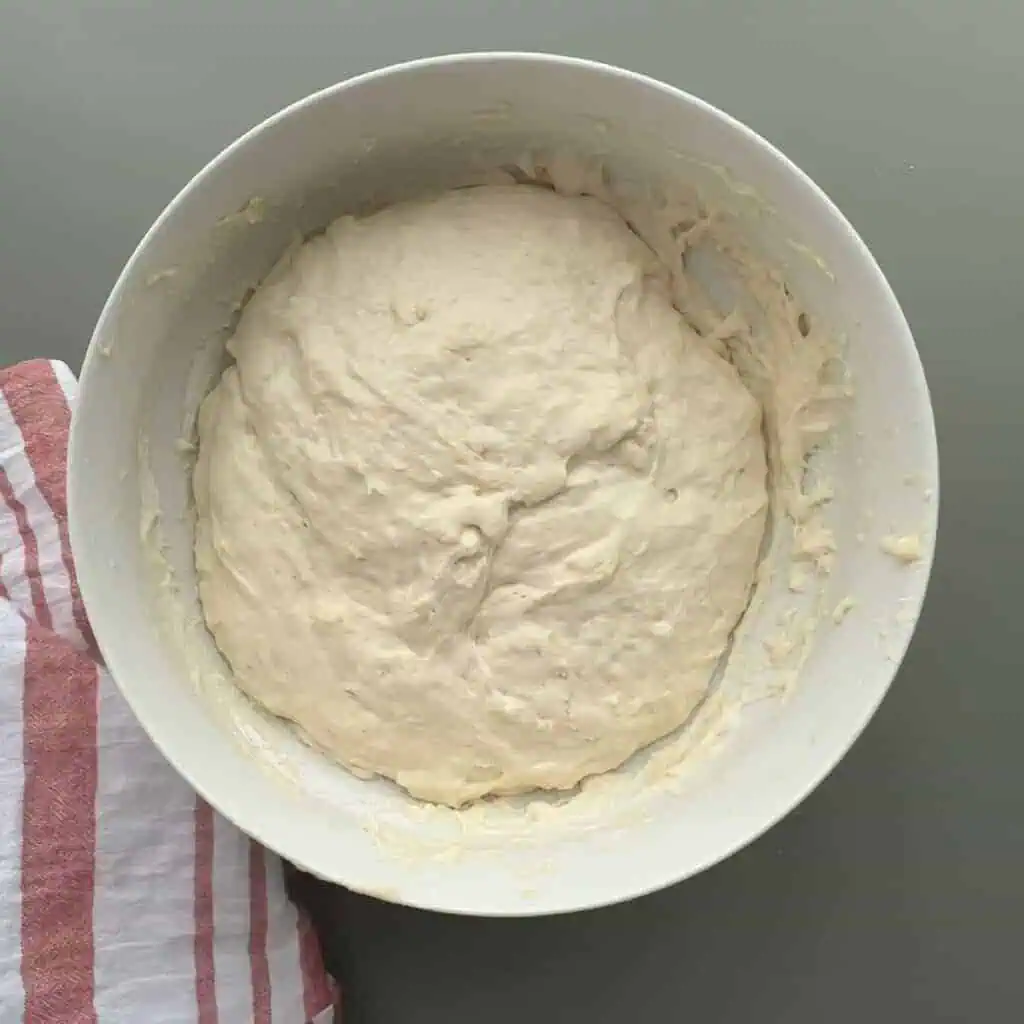
Lightly mist the surface of the dough with some oil spray to prevent drying, then cover the bowl with plastic wrap or a kitchen towel and allow the dough to rest in a warm place for 2-3 hours.
Oven Preheating
Place a large Dutch oven or heavy-based pot with its lid in the oven, and preheat it to 450F/230C for about 30 minutes before baking the bread.
Shaping The Dough
Flour the work surface and a piece of parchment paper.
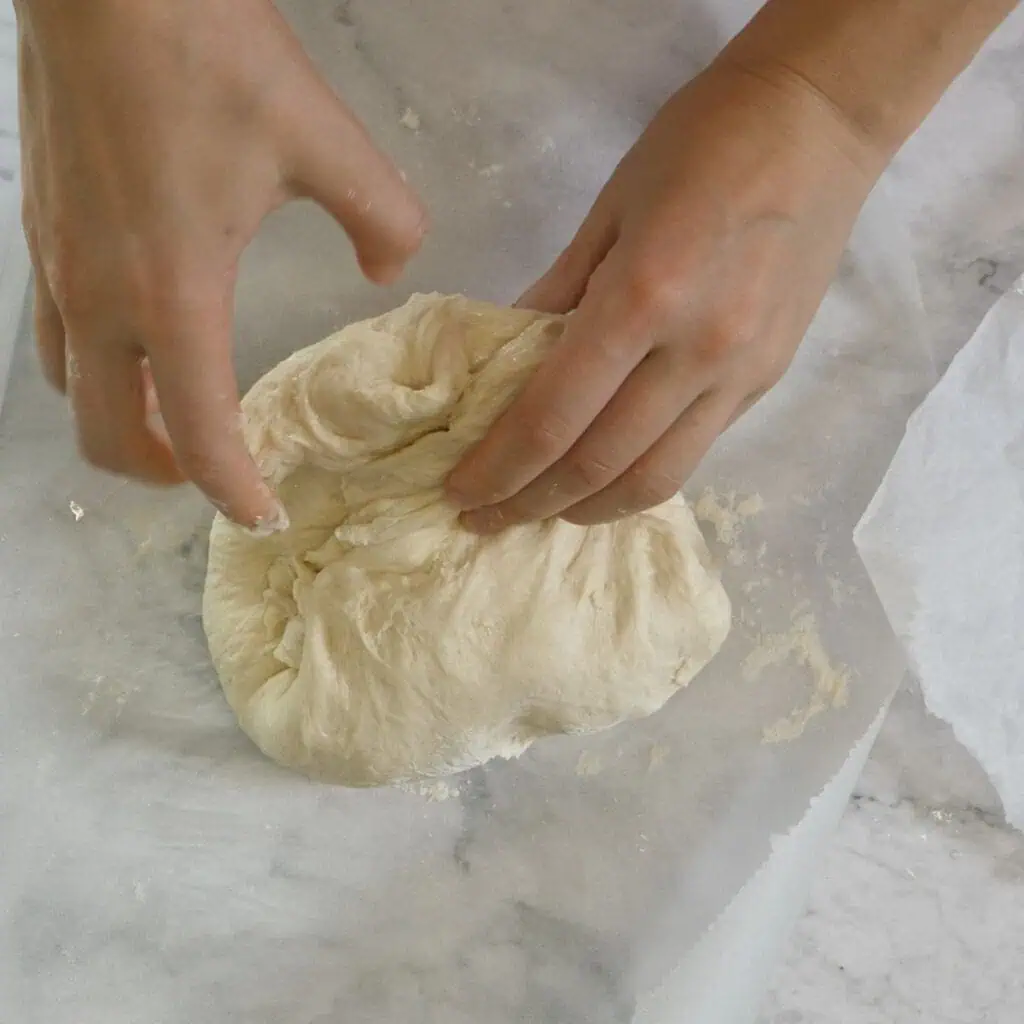
Scrape the dough out of the bowl onto the floured surface and fold it onto itself 5-6 times to create a roughly circular shape, then transfer the shaped dough onto the parchment paper.
Baking The Bread
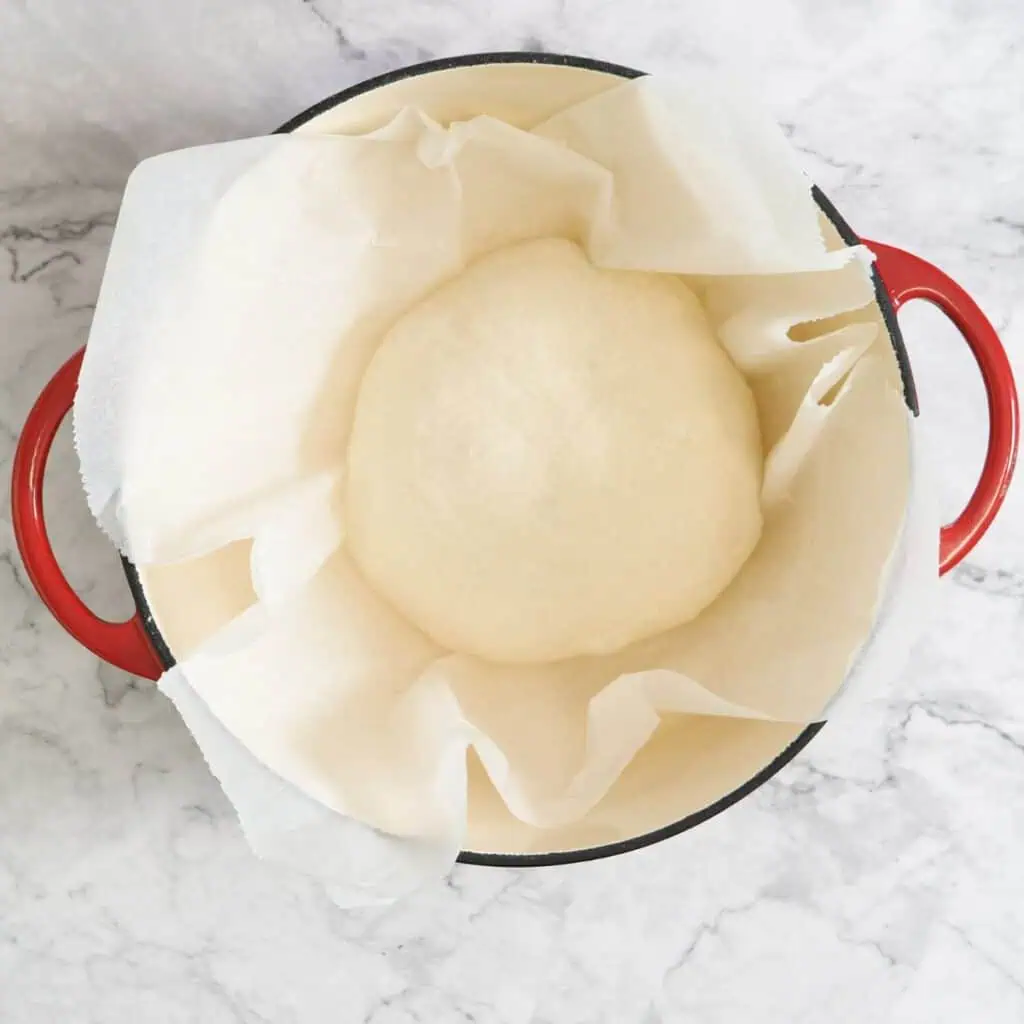
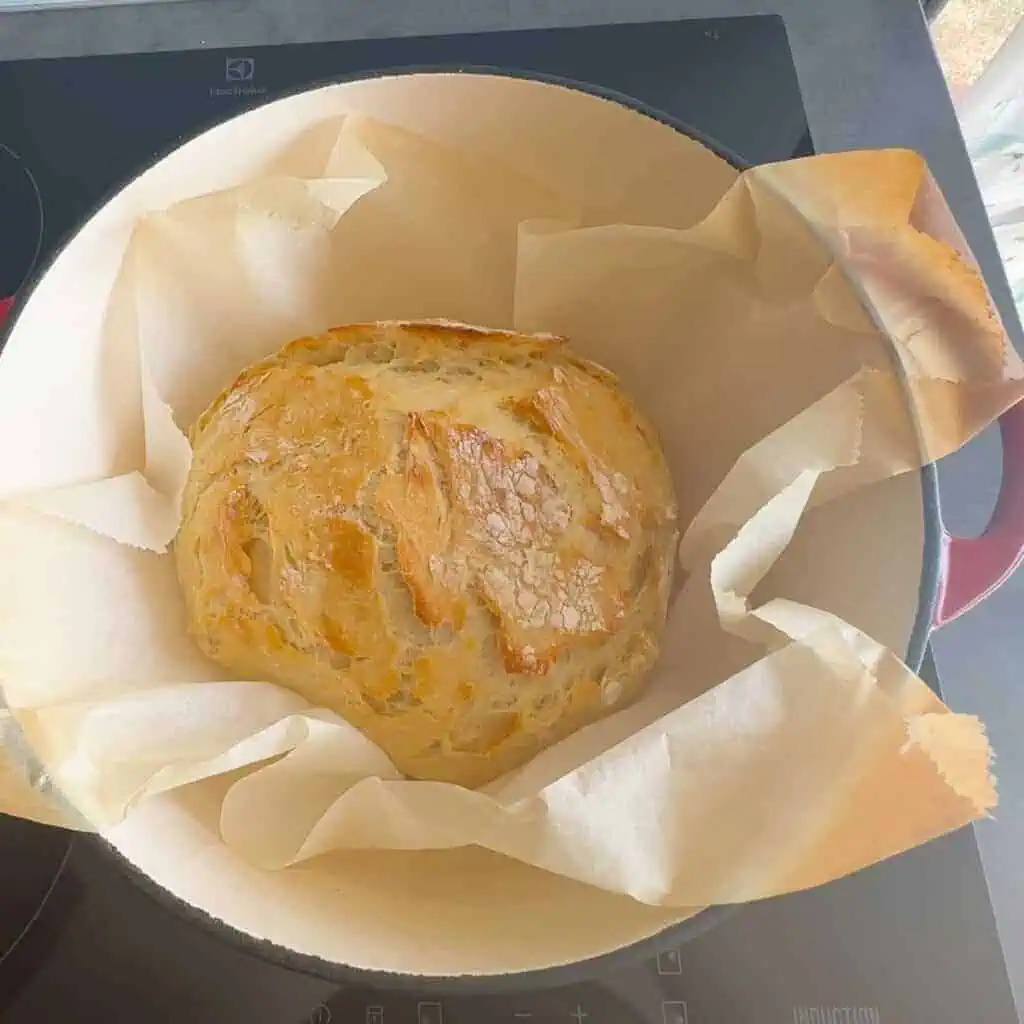
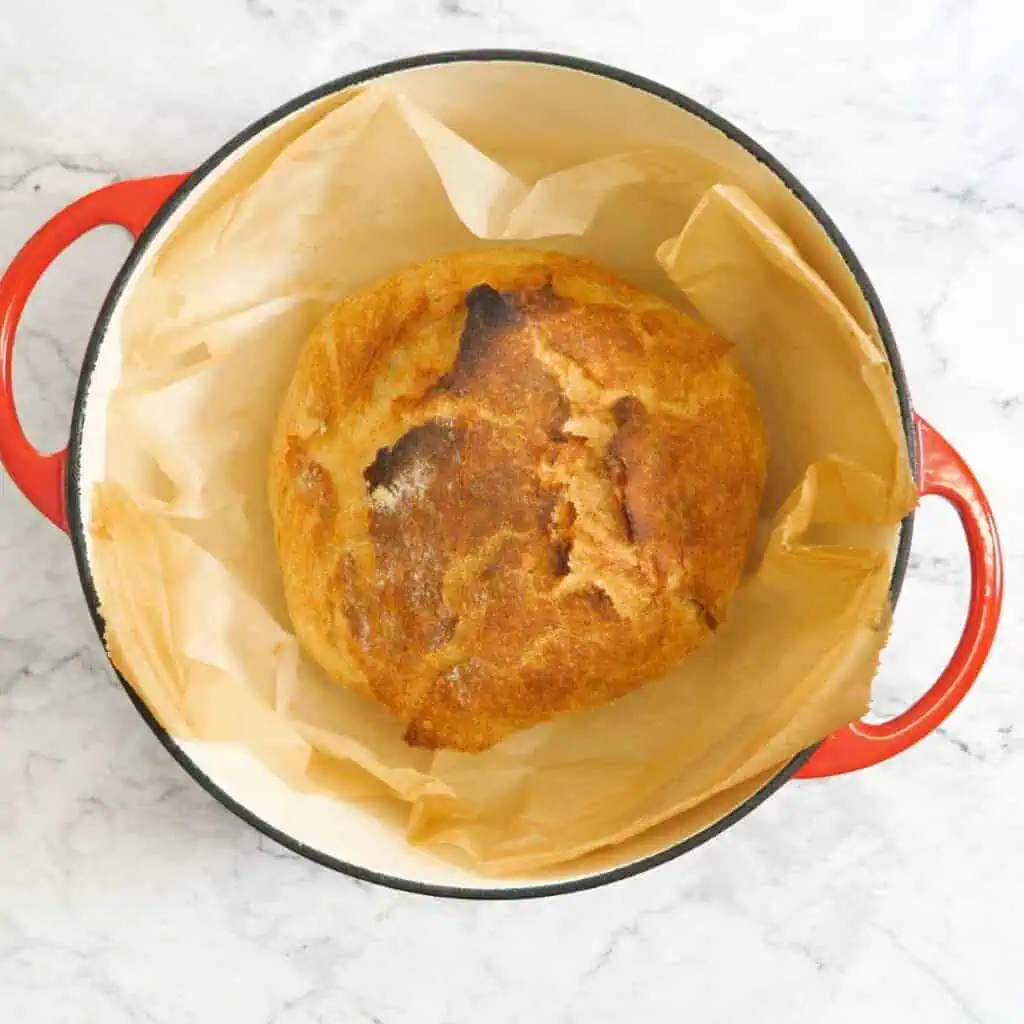
Remove the preheated dutch from the oven cautiously, and place the parchment paper with the dough into the hot pot.
Cover the pot with its lid and bake for 30 minutes.
After 30 minutes, remove the lid and continue baking for 10-12 more minutes until the bread is golden-brown and super crispy.
Cooling
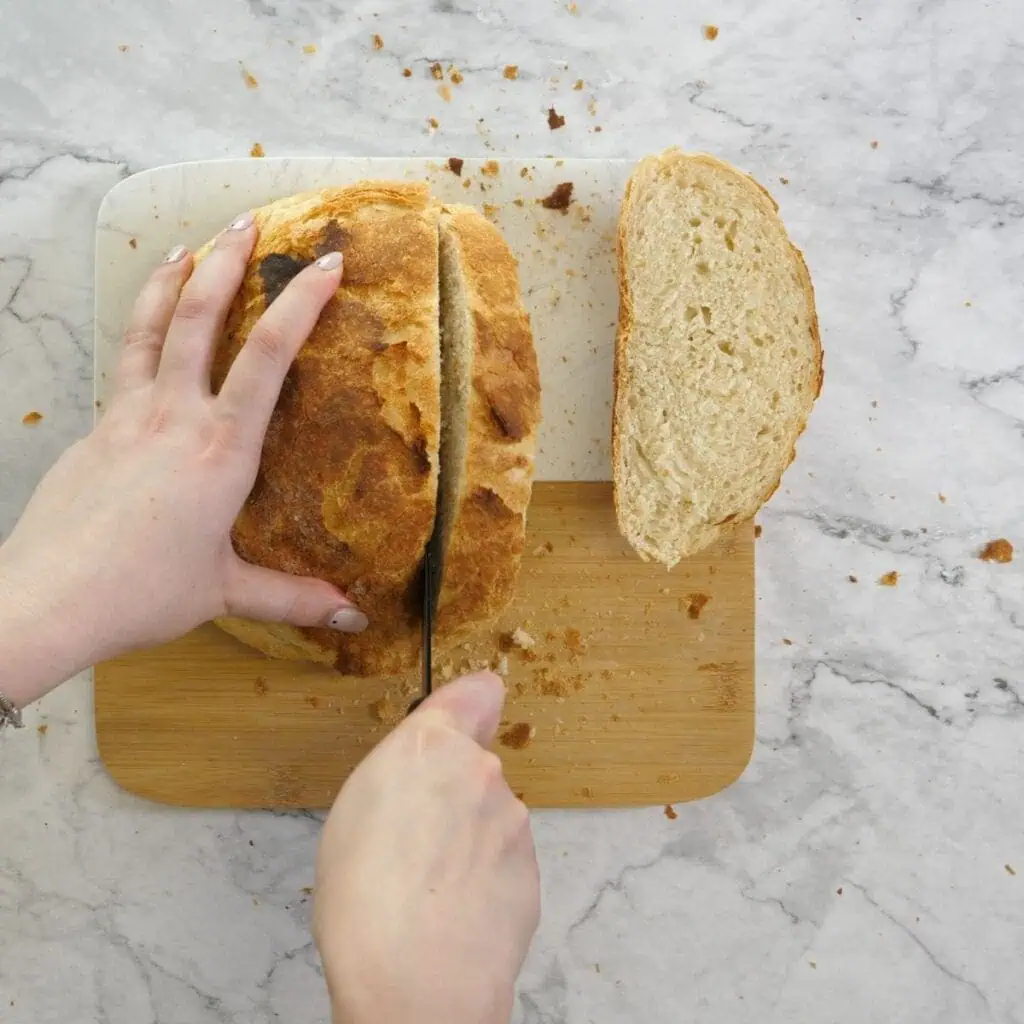
Transfer the freshly baked bread to a wire rack and allow it to cool for about 10 more minutes before slicing.
Now, you can enjoy your homemade bread and customize it with your favorite herbs, seeds, or other additions for added flavor and texture.
ESSENTIAL TIPS FOR SUCCESS
- Check Yeast Freshness: Ensure that your yeast is fresh and within its expiration date. Expired or inactive yeast can result in less successful rising and a less fluffy loaf.
- Make sure to use warm water: Hot water can kill or damage the yeast, preventing it from performing its leavening action effectively. This can lead to poor dough rise and denser bread.
- Preheat Your Dutch Oven: Ensure it’s thoroughly preheated before placing the dough inside. This helps create a crispy crust.
- Measure the ingredients correctly: Be precise when measuring the ingredients for bread.
- Hydration level: adjust the amount of water as needed based on humidity and the type of flour used. The dough should be wet and sticky but manageable.
- Long fermentation: If possible, allow the dough to ferment for an extended period at room temperature. This slow fermentation develops flavor and structure in the bread.
- Cover and rest: Cover the dough with plastic wrap and a kitchen towel during fermentation to prevent it from drying out or forming a tough crust.
RECIPE VARIATIONS
This no-knead bread recipe is also incredibly versatile, and you can create a variety of delicious bread variations by adding different ingredients and flavors. Here are some interesting recipe variations to try:
- Rosemary And Olive No-Knead Bread: Add chopped rosemary leaves and olives to the dough during mixing to infuse the bread with a savory Mediterranean flavor.
- Cheese and Herb No-Knead Bread: Add some shredded cheese(cheddar, parmesan, or gruyere) and chopped fresh herbs into the dough. Once the cheese melts, it will create some pockets of deliciousness.
- Seeded No-Knead Bread: Mix in various seeds, such as sesame, poppy, flax, and sunflower, for added texture and a nutty taste.
SERVING SUGGESTIONS
This no-knead bread is versatile and pairs well with various dishes and spreads. Here are some serving suggestions to enjoy your freshly baked no-knead bread:
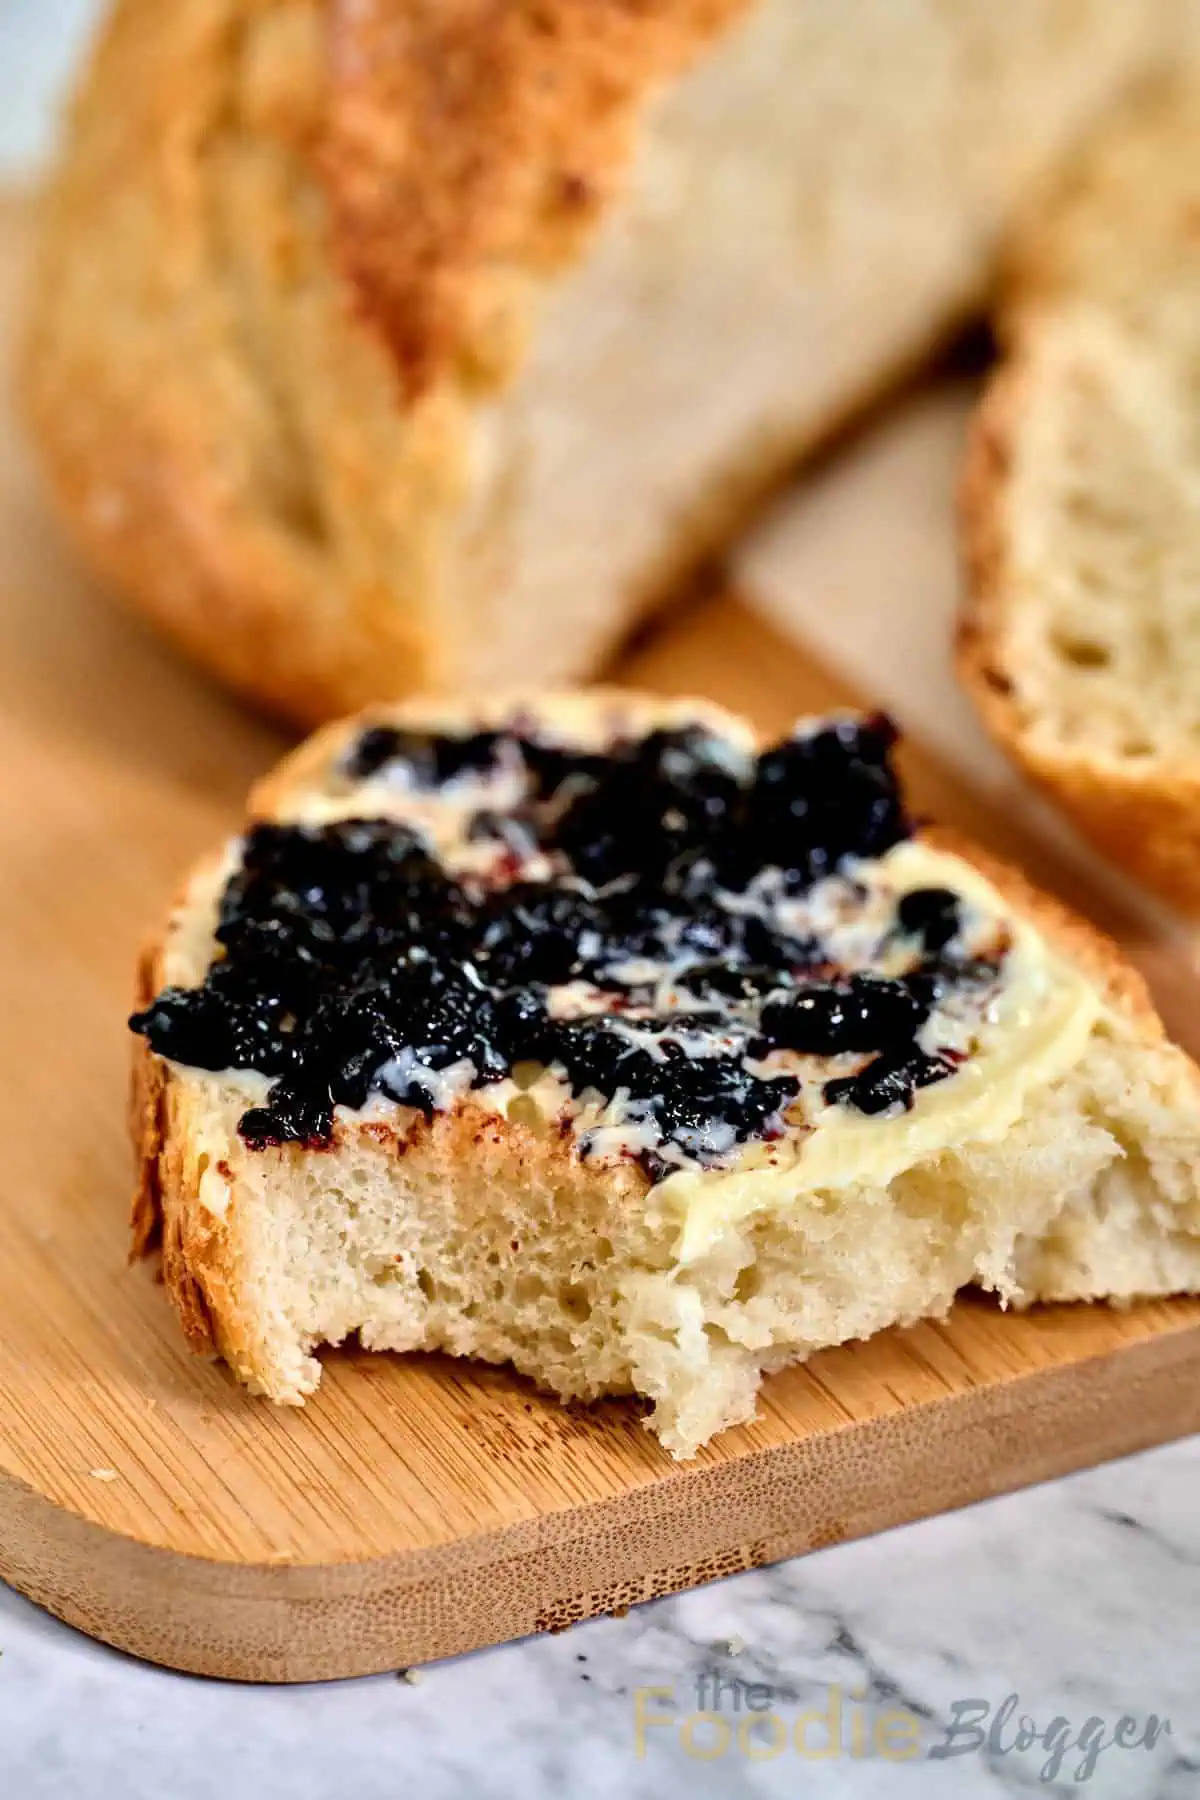
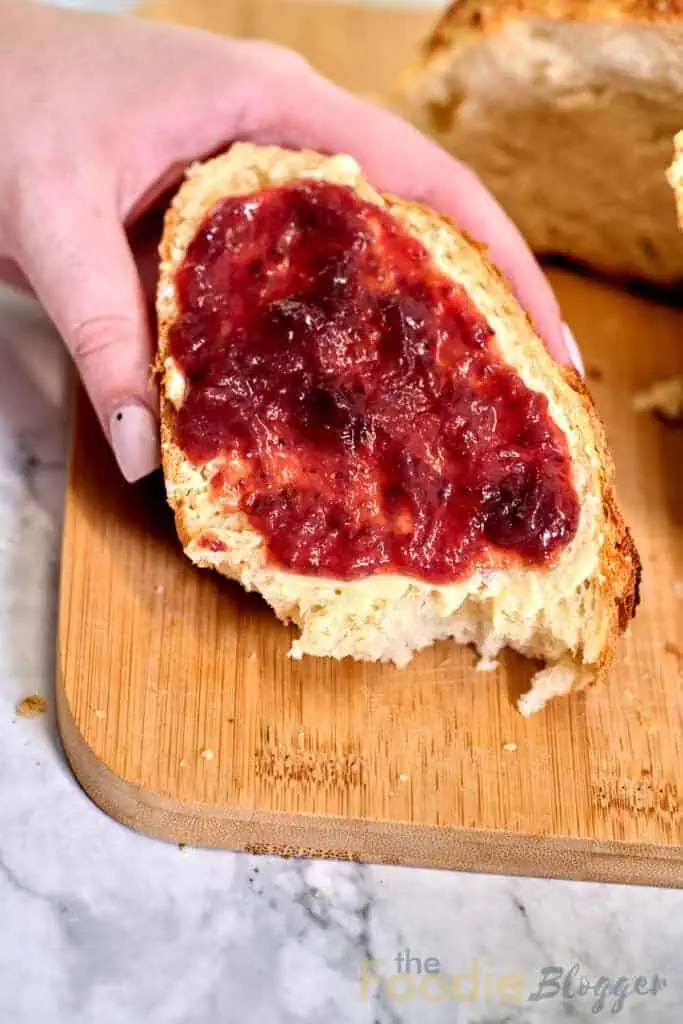
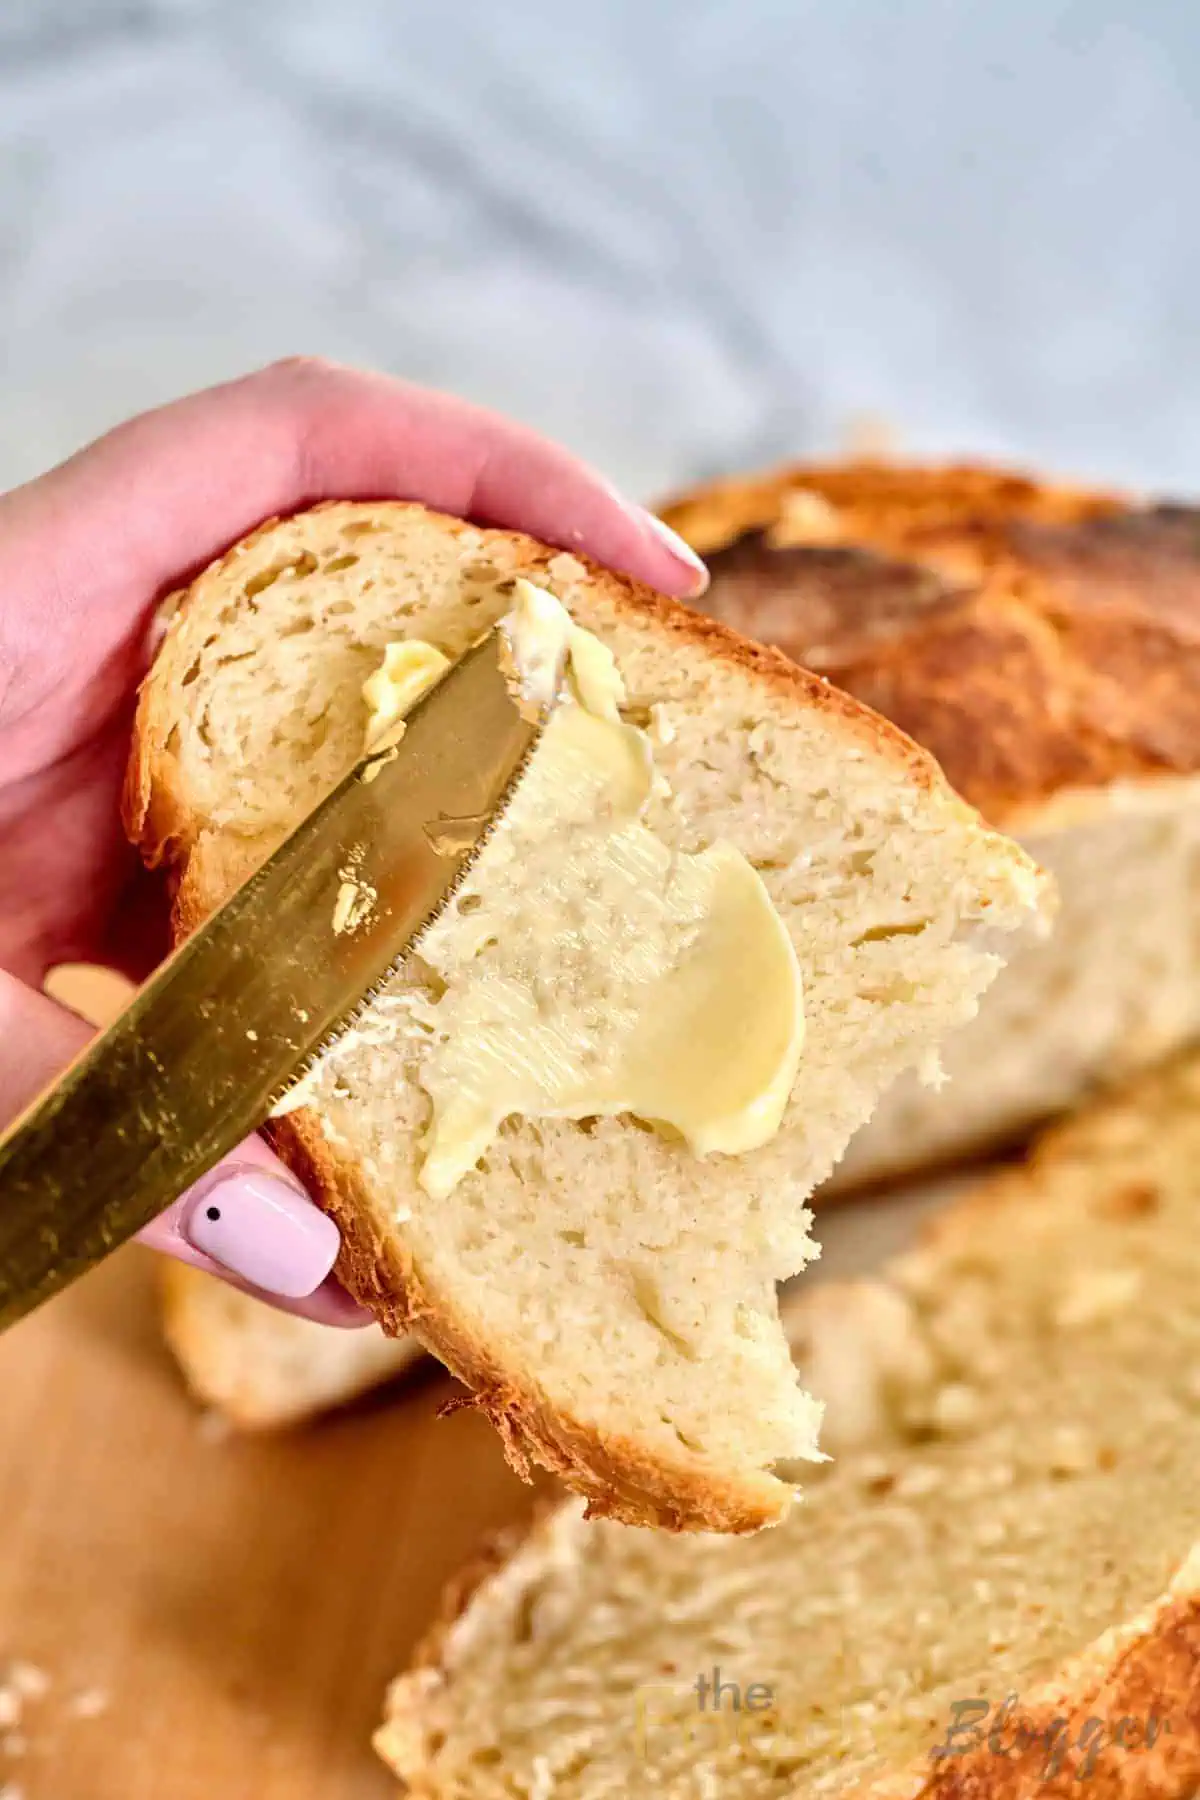
- One of the best ways to enjoy freshly baked bread is with a generous slather of creamy butter and homemade jam.
- You can slice the bread and serve it as part of a cheese platter with a delicious selection of cheeses, dried fruits, nuts, and honey.
- You can also use this bread to create some gourmet sandwiches with your favorite fillings.
- The slices from this no-knead bread pairs perfectly with soups, stews, or chili. It’s perfect for soaking up flavorful broths and gravies.
What Are The Best Types Of Flour For Making This No-Knead Bread?
The best type of flour for making this easy bread recipe typically has a moderate to high protein content, which helps develop gluten and create the desired texture. Here are some commonly used flours for this no-knead bread recipe:
- All-Purpose Flour: This is a versatile choice for this bread recipe since it has a moderate protein content and works well for various bread recipes, resulting in a lighter and softer crumb.
- Bread Flour: This flour has about 12-14% protein content, which helps create a stronger gluten structure, resulting in a chewier and more structured loaf with a good rise.
- Multigrain Flour Mixes: There are many premade multigrain flour mixes that contain a combination of flours, seeds, and grains that add complexity to your bread’s flavor and texture.
So when choosing a flour for your no-knead bread, consider the type of bread you want to make and your taste preferences. Mixing different flours can also yield different results. Remember to adjust the hydration level in your recipe based on the flour you use, as different flours absorb water differently.
STORAGE INSTRUCTIONS
Knowing how to store your homemade no-knead bread will help maintain its freshness and quality. Here are storage instructions for no-knead bread:
- Allow your freshly baked no-knead bread to cool completely on a wire rack for at least 2 hours. This step is essential to prevent moisture from being trapped inside the bread, which can lead to a soggy texture.
- Wrap it loosely in a clean kitchen towel or cloth. This helps protect the bread from dust and debris.
- You can also store this bread in a bread box, a bread bag, or a large paper bag.
Freezing: If you don’t consume the bread within a few days, consider freezing it. Slice the bread into portions, wrap each slice or the entire loaf tightly in plastic foil, and place it in an airtight freezer bag. Frozen no-knead bread can be reheated in a toaster or oven when needed.
Tips*: Avoid storing homemade bread in plastic bags or airtight containers unless you want to maintain a soft crust. Plastic bags can cause the bread to become soft and lose its crustiness.
TROUBLESHOOTING
This no-knead bread is generally forgiving, but issues can occasionally arise. Here are some common troubleshooting tips for no-knead bread:
- Dough Too Sticky. If your dough is sticky and unmanageable, add more flour until it becomes easier to work with. Be cautious to add only a little flour, as this can result in a dense loaf.
- Lack of Rising. If your dough doesn’t rise as expected during fermentation, it may be due to old or inactive yeast. Ensure your yeast is fresh and stored in a cool, dry place. Also, double-check that your water was at the correct temperature (around 110°F or 45°C) for yeast activation.
- Burnt Top or Sides. If the top or sides of your bread get too dark or burnt during baking, try reducing the oven temperature or covering the bread with aluminum foil for part of the baking time to prevent excessive browning.
More No Knead Recipes
The Ultimate No Knead Bread
Ingredients
- 3 1/2 cups bread flour or plain/all-purpose 450g
- 1 tbsp white granulated sugar
- 2 tsp instant or rapid-rise yeast
- 1 1/2 cups warm water
- 1 tbsp olive oil
- 1 1/2 tsp salt
Instructions
Make the Dough
- Combine flour, sugar, yeast, and salt in a large bowl.
- Add warm water and oil, mixing until the ingredients are combined. The dough will be wet, sticky, and not kneadable.
- Lightly mist the dough's surface with cooking oil spray. Add a little more flour if needed to get the right consistency.
- Cover the bowl with plastic wrap and place a dry tea towel over it.
- Allow the dough to rest in a warm place for 2-3 hours or until it doubles in size. The risen dough will appear bubbly and have a wobbly, jelly-like consistency.
Oven Preheating
- Place a large (10-inch or 26cm) Dutch oven or heavy-based pot with its lid in the oven.
- Preheat the oven to 450°F (230°C) 30 minutes before baking.
Shaping the Dough
- Flour your work surface and scrape the dough out of the bowl.
- Sprinkle a flour pinch over the dough's surface and fold it onto itself using the spatula 5-6 times. Shape it into a rough circle.
- Cut a large piece of parchment paper to transfer the dough into the pot.
- Roll the dough onto the parchment paper using the spatula, positioning it smooth side up. Adjust its position to the center of the paper. Note: The dough will even out during baking.
Baking
- With oven mitts, cautiously remove the hot Dutch oven from the oven.
- Lift the dough using the ends of the parchment paper and place it into the pot.
- Cover the pot with its lid and bake covered for 30 minutes.
- Uncover and bake for 12-15 minutes until the loaf is golden-brown and super crispy.
Cooling
- Transfer the baked bread to a wire rack.
- Allow it to cool for at least 10 minutes before slicing.
Notes
Nutrition Information
The nutritional information provided on this website is intended to be a helpful reference and convenience for our users. It is offered as a courtesy and is based on data primarily sourced from the USDA Food Composition Database.
We kindly request that you do not take screenshots or copy/paste our recipes to social media or other websites. We would greatly appreciate it if you could instead share a link to our recipe along with a photo.
