

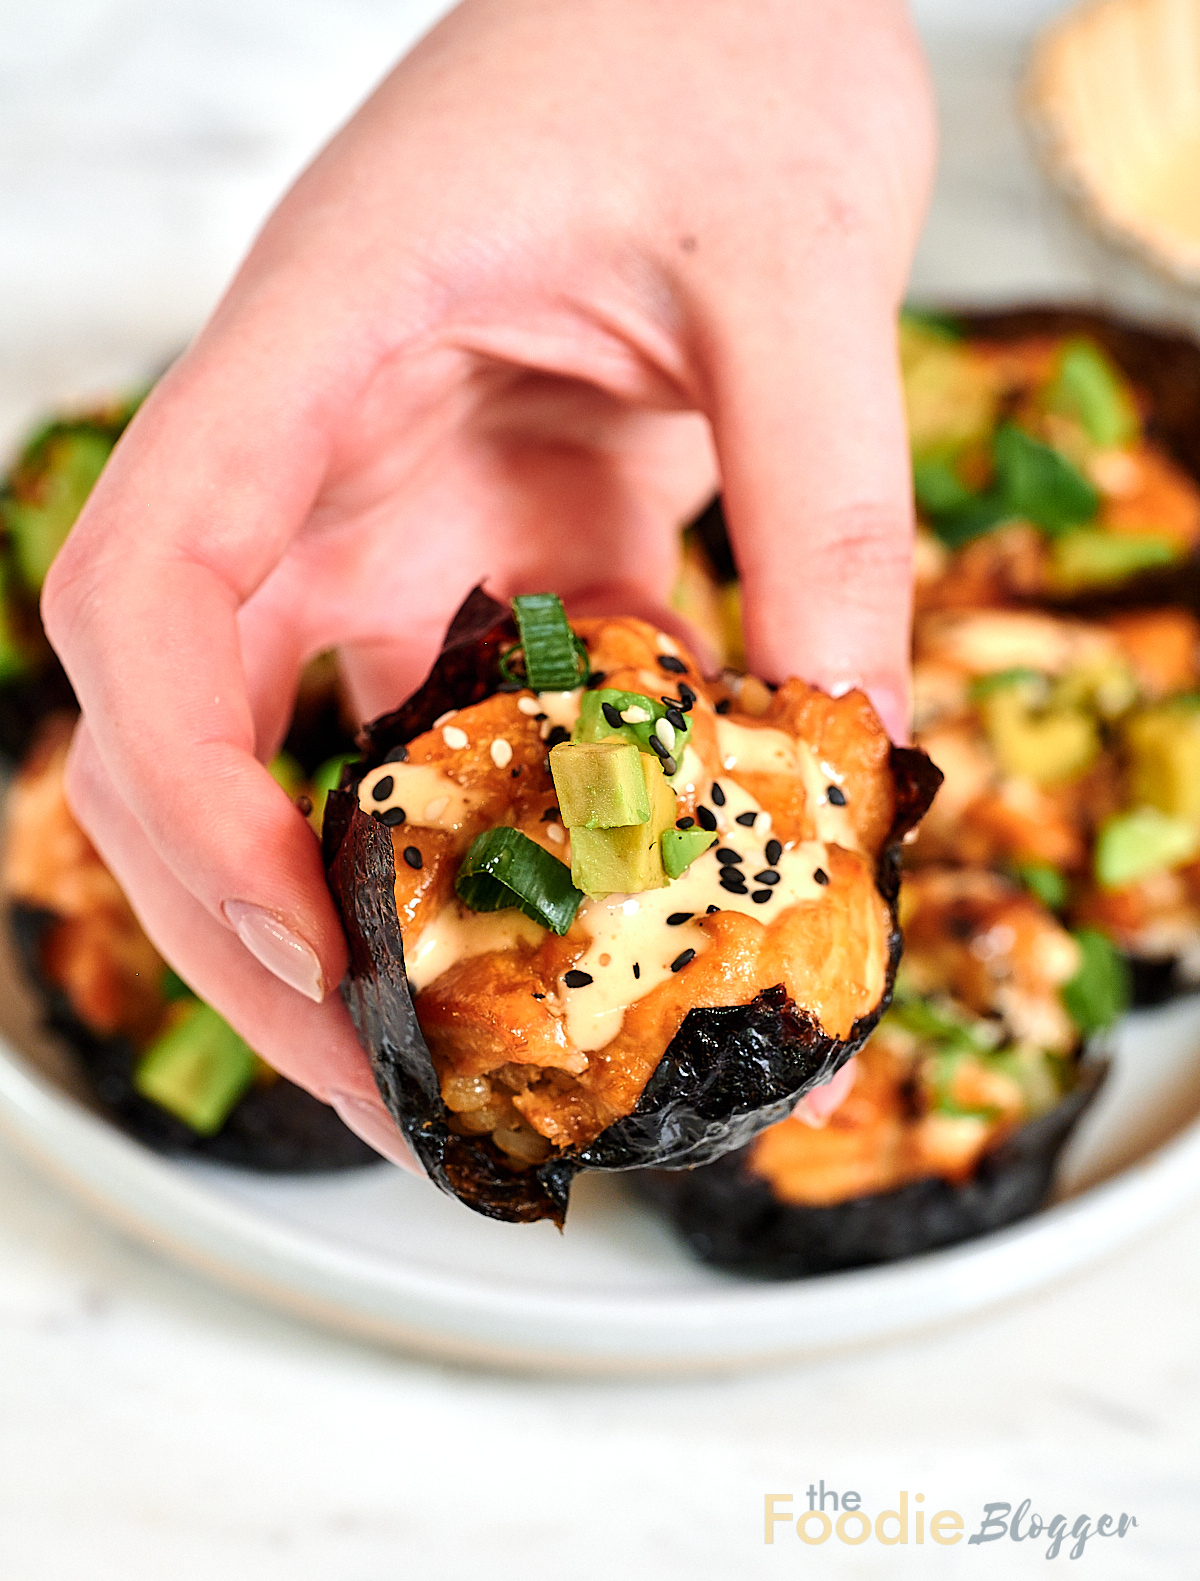

I already have a Salmon Sushi Bake on the blog that I love, but I wanted to make a smaller, hand-held version that works better for appetizers, quick lunches, or when you want something that feels a little more fun. These little sushi cups are easy to assemble, bake quickly, and look so pretty once they’re topped.
The best part is that the salmon is baked, not raw, so you don’t need sushi-grade fish or any special sushi tools. Just layer the nori, rice, and marinated salmon in a muffin tin, bake until the salmon is tender, then finish with your favorite toppings.
They can also be gluten-free if you use tamari or gluten-free soy sauce and check the labels on your mayo, Sriracha, and nori.
Why You’ll Love These Baked Salmon Sushi Cups
- No sushi mat needed – You don’t have to roll, slice, or use any special sushi tools. Just press the nori into a muffin tin, add the rice and salmon, then bake.
- Made with cooked salmon – Since the salmon bakes in the oven, you don’t need sushi-grade fish. This makes the recipe easier and more approachable for home cooking.
- So much flavor in each bite – The salmon is mixed with mayo, Sriracha, soy sauce, and sesame oil, so it turns creamy, savory, slightly spicy, and full of flavor as it bakes.
- Great for appetizers or dinner – They look cute enough for parties, but they’re also easy enough for a fun weeknight dinner with a cucumber salad or simple side.
- Easy to prep ahead – You can cook the rice, cut the nori, and marinate the salmon ahead of time. For the best texture, assemble and bake the cups right before serving so the nori stays crisp.
- Easy to customize – Top them with avocado, green onion, sesame seeds, spicy mayo, cucumber, jalapeños, or whatever sushi toppings you love.
- High in protein – Salmon makes these sushi cups filling and satisfying, especially if you serve a few of them as a meal.
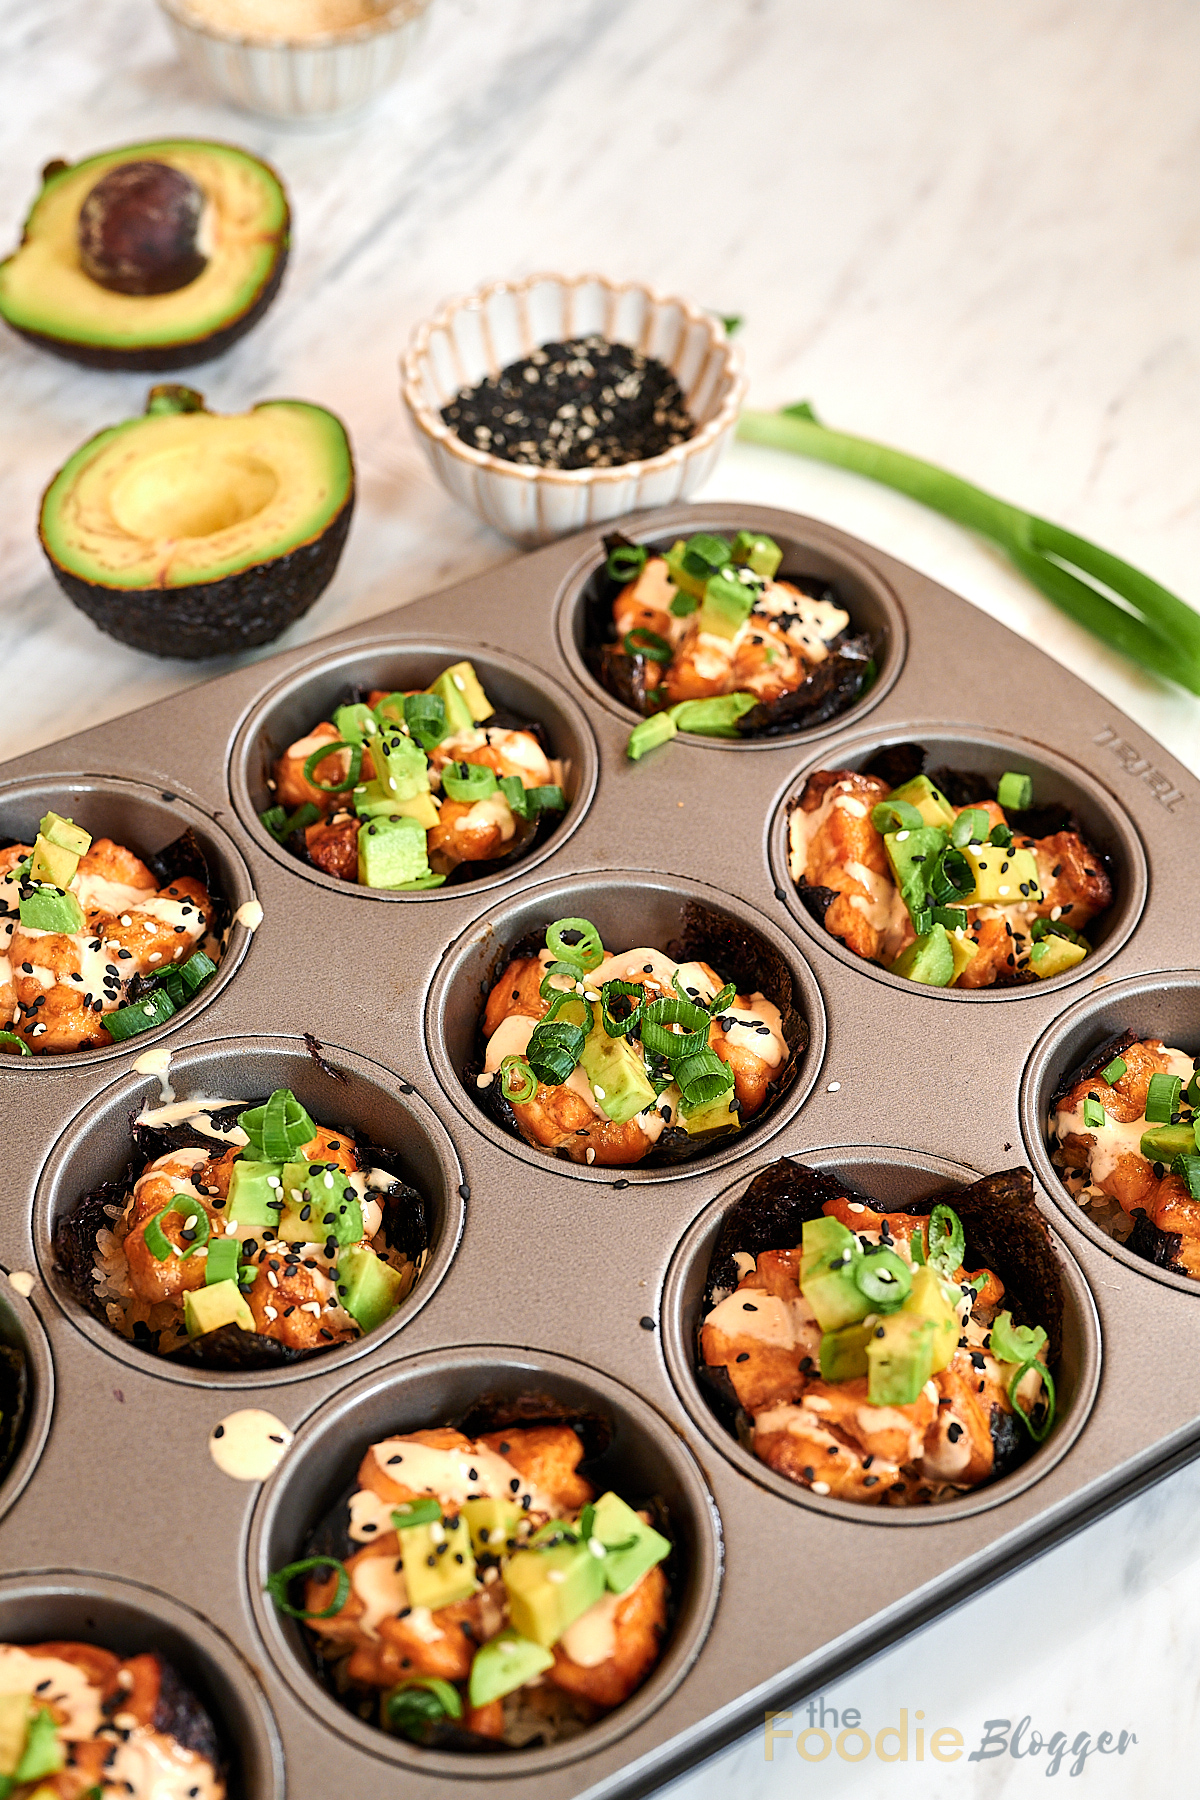
Ingredients For Baked Salmon Sushi Cups
Here’s what you’ll need to make our delicious and easy salmon sushy cups:
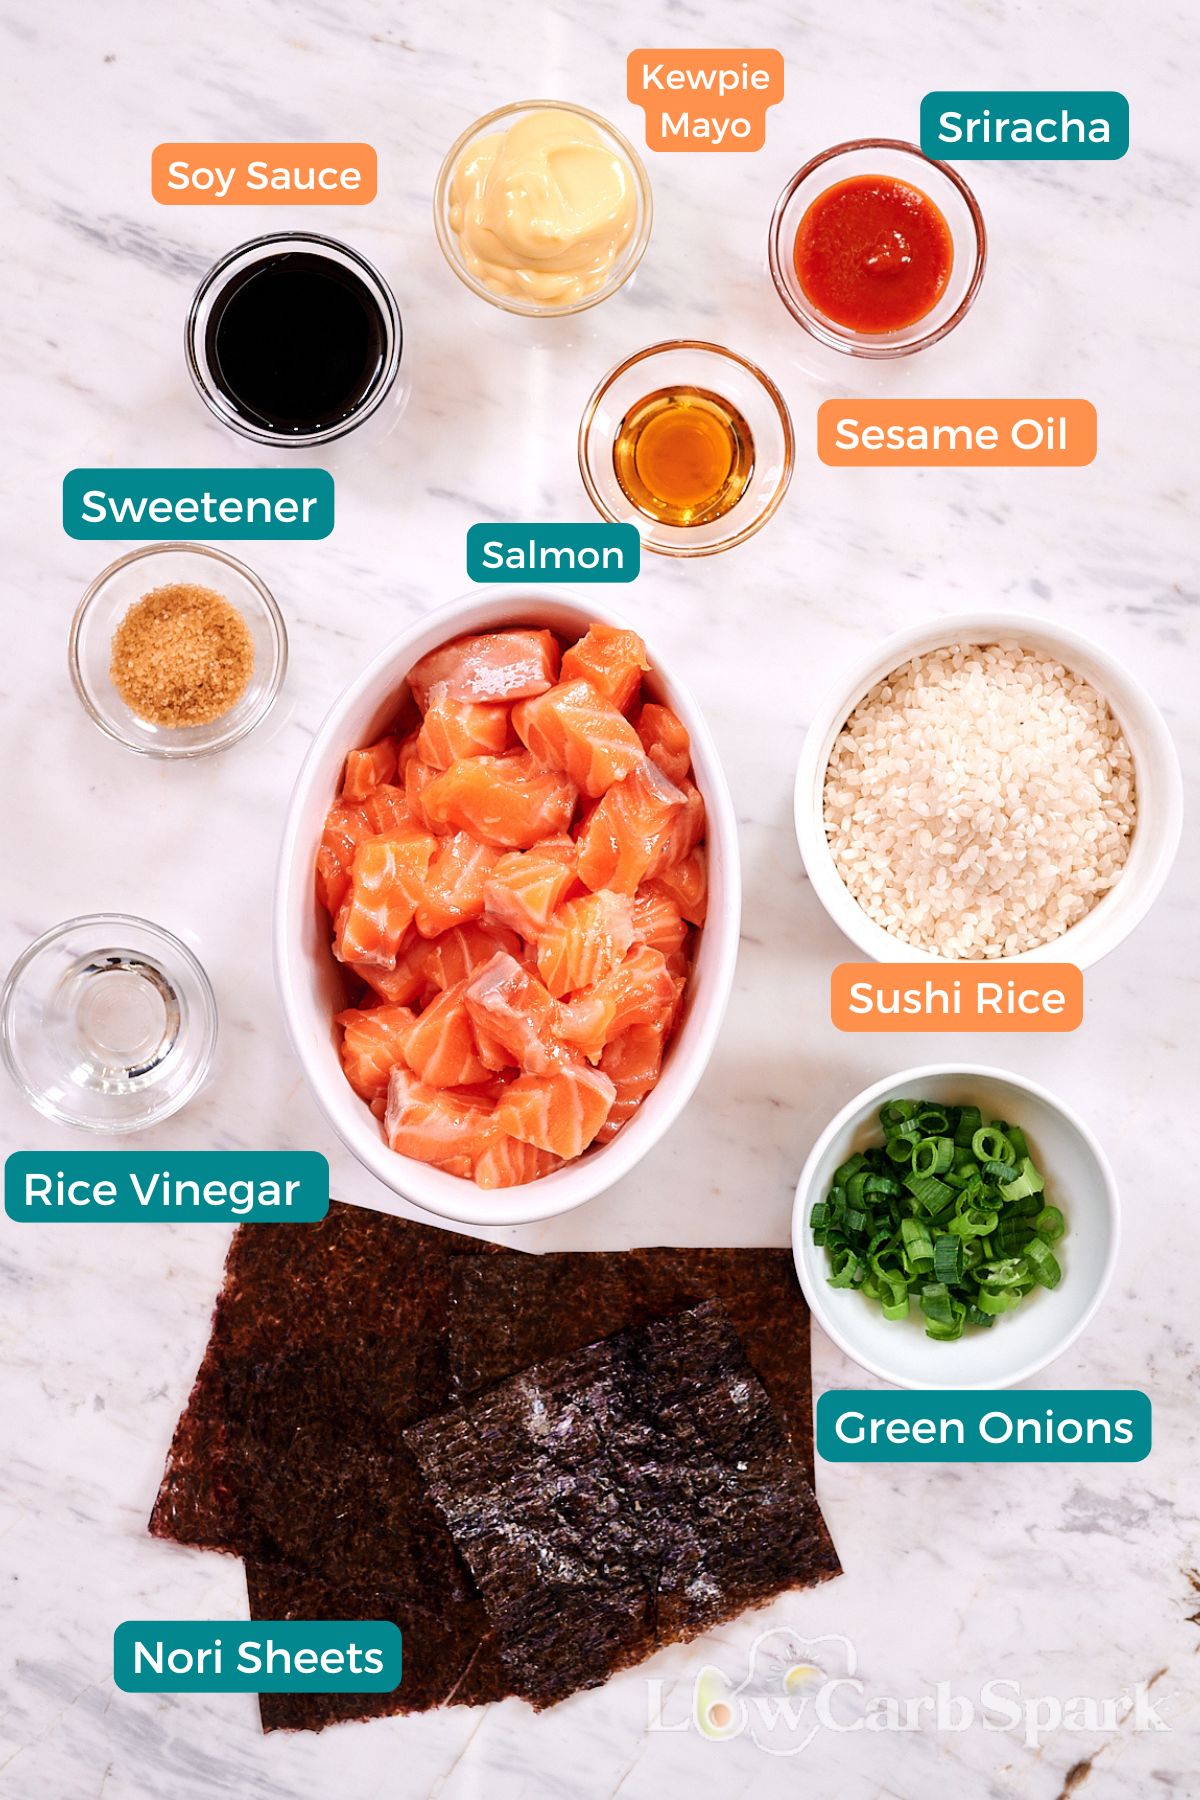
- Salmon – Use fresh, skinless salmon fillets and cut them into small cubes so they cook evenly. Since the salmon is baked, you don’t need sushi-grade salmon for this recipe.
- Soy Sauce – Adds salty, savory flavor to the salmon. Use tamari or gluten-free soy sauce if you need this recipe to be gluten-free.
- Kewpie Mayo – Kewpie mayo makes the salmon creamy and gives it that sushi-style flavor. Regular mayonnaise works too, but Kewpie has a richer, slightly sweeter taste.
- Sriracha – Adds heat and makes the salmon mixture slightly spicy. Use more or less depending on how spicy you like it.
- Sesame Oil – A little goes a long way. It adds a nutty flavor that makes the salmon taste richer.
- Sushi Rice – Short-grain sushi rice works best because it’s sticky and helps the cups hold together. Make sure to rinse it well before cooking so it doesn’t turn gummy.
- Rice Vinegar – Gives the rice that classic sushi flavor. Add it while the rice is still warm so it absorbs better.
- Sweetener – A little sugar or sweetener balances the vinegar and makes the rice taste more like sushi rice.
- Nori Sheets – These hold the rice and salmon together. The edges get lightly crisp in the oven, which is one of the best parts of this recipe.
- Green Onions – Add freshness, crunch, and a little color on top.
- Avocado – Adds creaminess and cools down the spicy salmon. I like adding it after baking so it stays fresh.
- Sesame Seeds – Sprinkle them on top for a little crunch and toasted flavor.
How to Make Baked Salmon Sushi Cups(Step-by-Step)
These sushi cups are easier than they look! With just a few steps—like marinating the salmon, cooking seasoned sushi rice, and layering everything into muffin tins—you’ll have a tray of warm, crispy, flavor-packed bites that look as good as they taste.
Marinate the Salmon for Maximum Flavor
Start by dicing your fresh salmon fillet into small cubes—about ½ inch is perfect for even cooking. In a medium bowl, combine the salmon with Kewpie mayo, Sriracha, light soy sauce, and sesame oil. Mix it all together until every piece of salmon is well-coated in that creamy, spicy marinade.
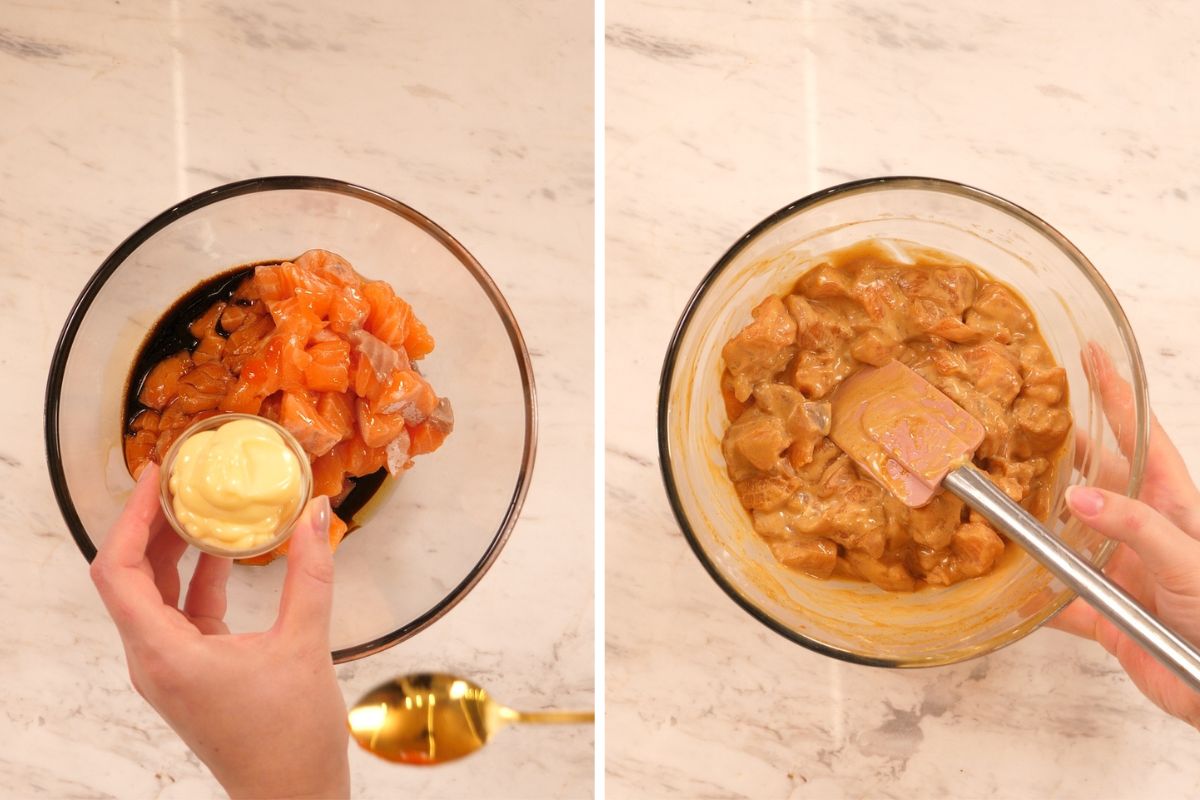
Tip: Let the salmon sit for at least 15–20 minutes while you prepare the rice. The longer it marinates, the more flavor it absorbs!
Cook the Sushi Rice Properly
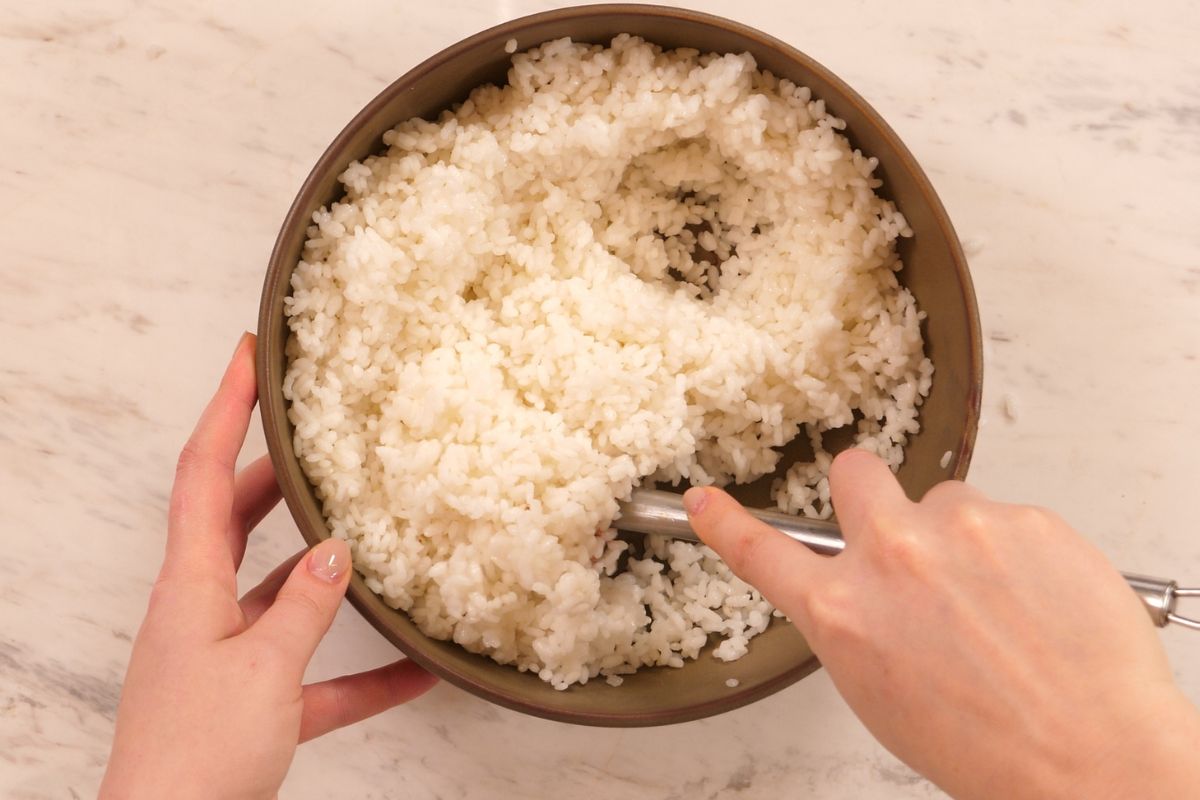
Start by rinsing 3/4 cup sushi rice under cold water until the water runs mostly clear. This removes extra starch and helps the rice turn sticky without becoming gummy.
Cook the rice with 1 cup water, or follow the package directions. Once it’s cooked, let it sit covered for about 10 minutes so the texture can settle.
Season the Rice Like a Sushi Pro
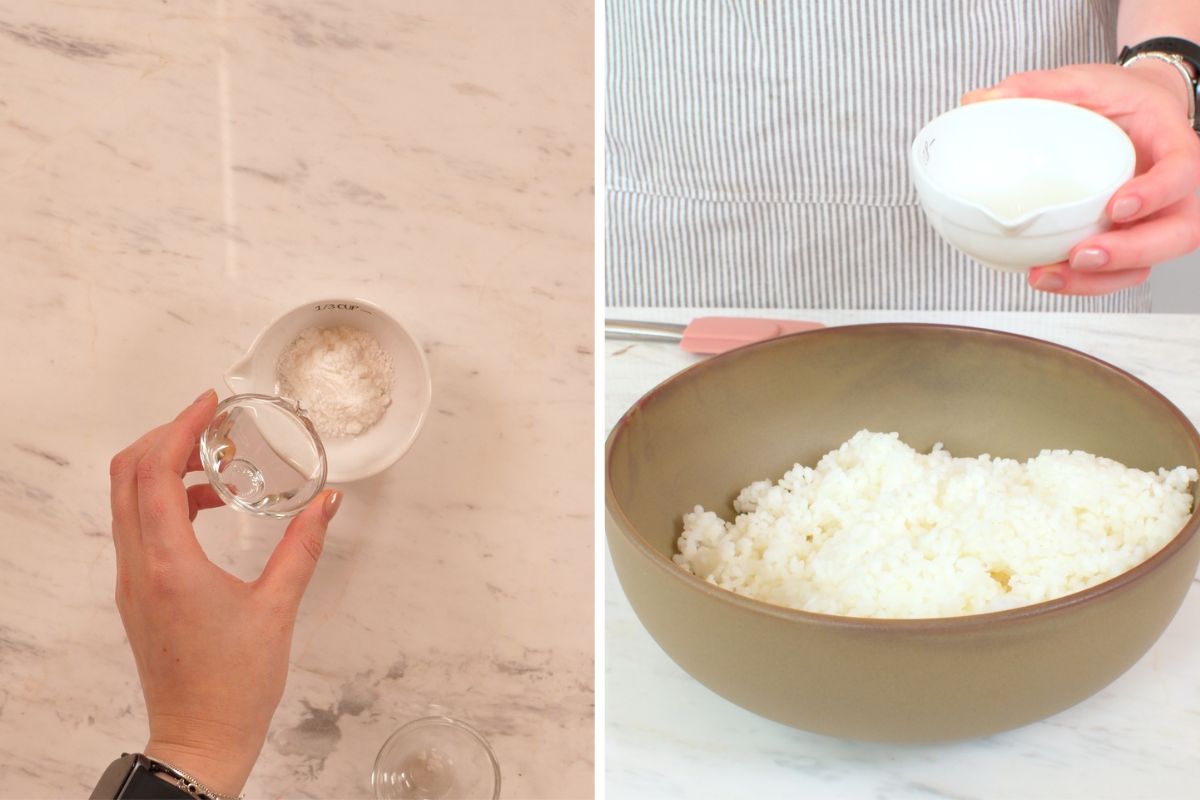
While the rice is still warm, stir together the rice vinegar, sugar or sweetener, and salt. Gently fold this mixture into the rice. Try not to mash the grains. You want the rice sticky, but still soft and fluffy.
Shape the Nori Sheets into Cups
Cut 3 full-size nori sheets into 12 squares.
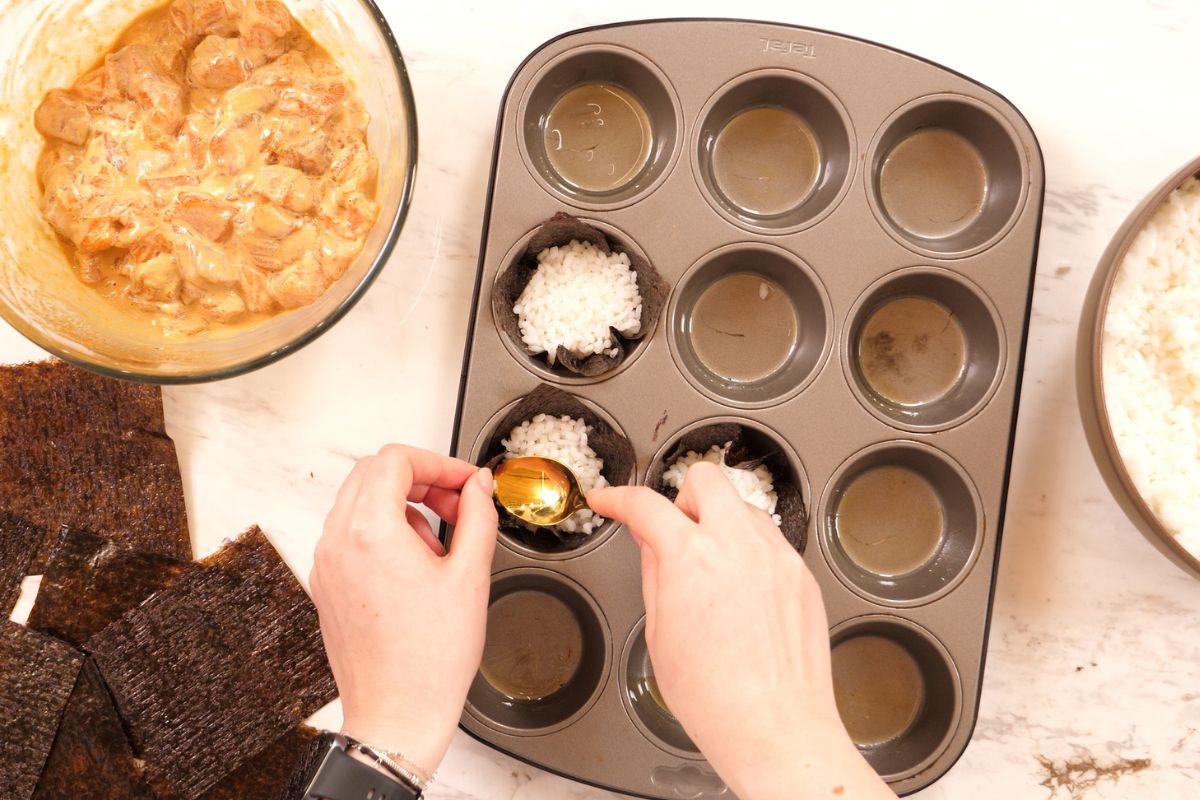
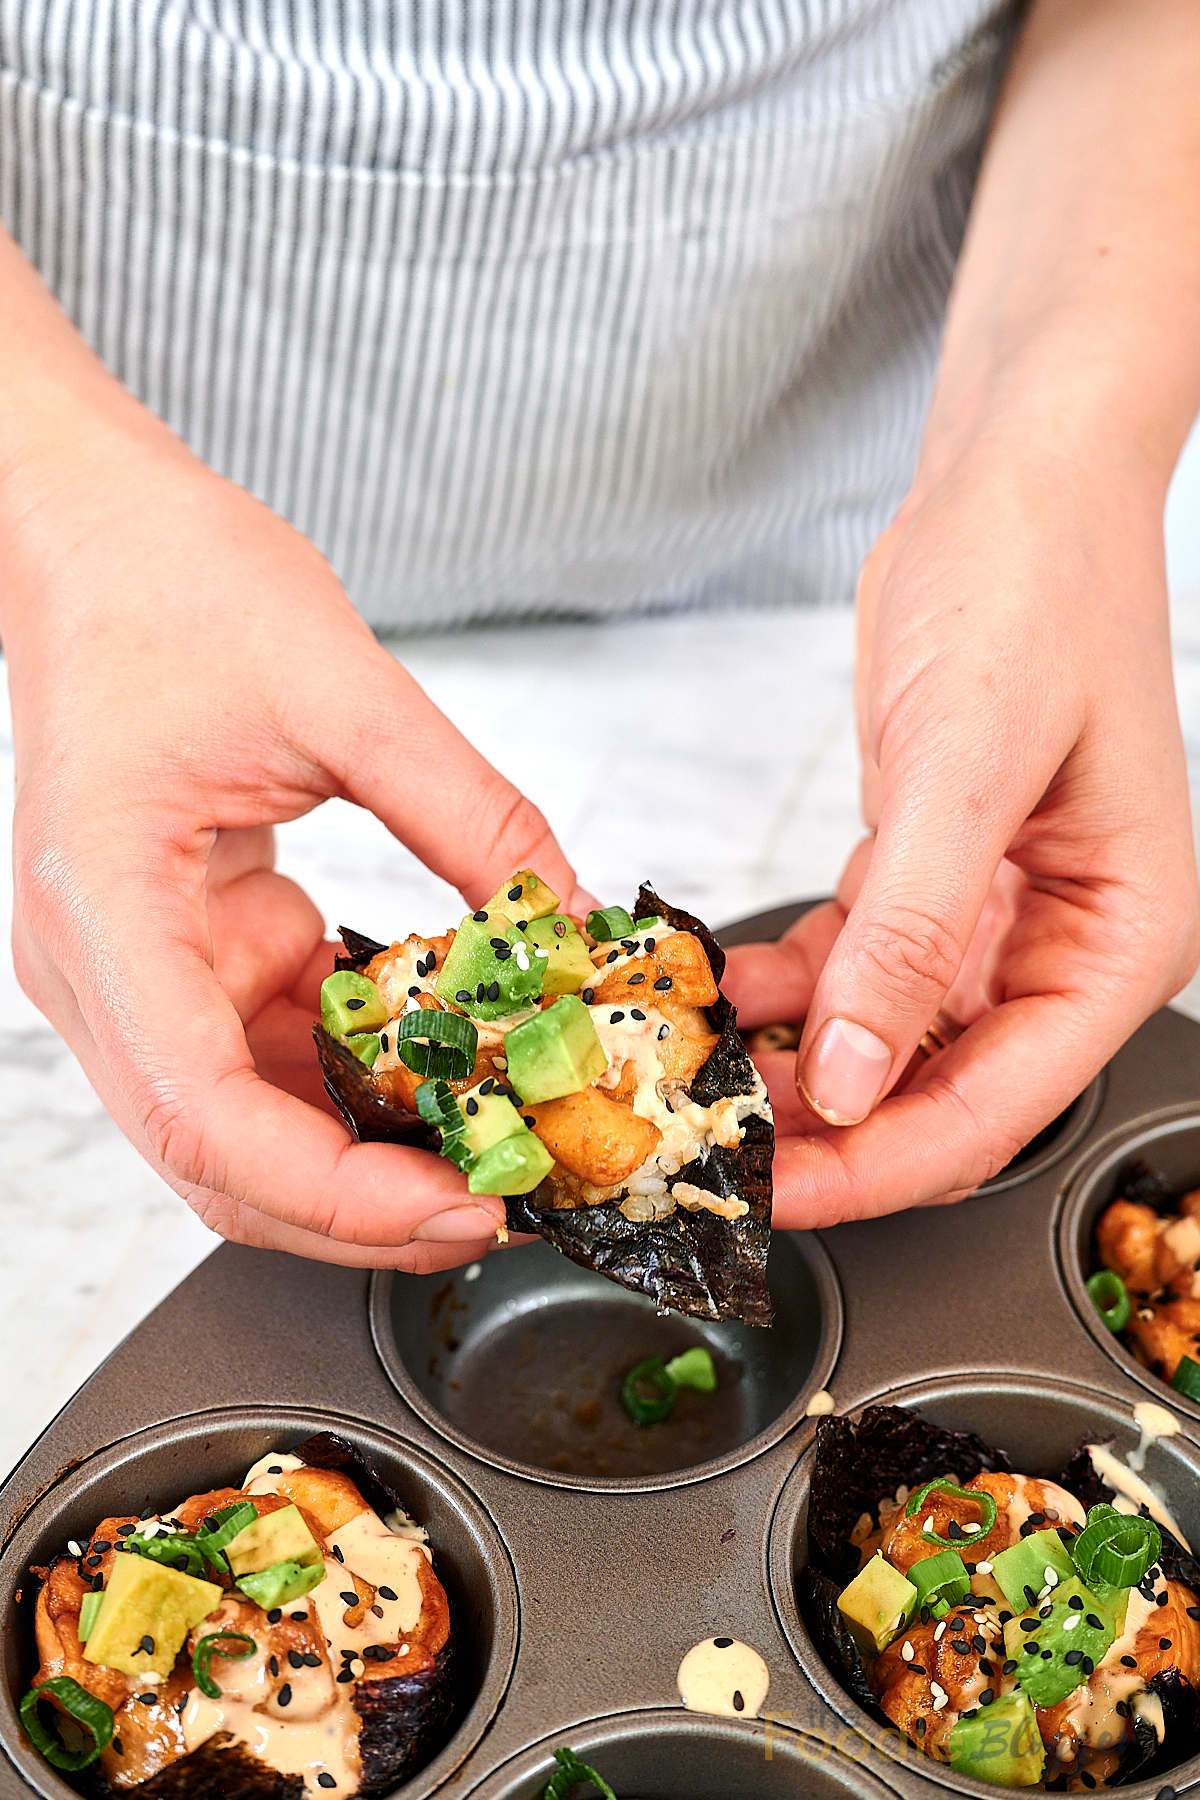
Lightly grease a standard 12-cup muffin tin, then press one nori square into each cup. The nori will fold and crease a little, and that’s completely fine. Once you add the rice and salmon, it will hold its shape better.
Press each square gently into a standard muffin tin, shiny side down. Use your fingers to form the sheets into cup shapes—they’ll naturally fold and crease a bit, and that’s totally fine!
Layer in the Seasoned Rice
Spoon about 2 to 3 tablespoons of seasoned rice into each nori cup. Press it down gently with the back of a spoon, but don’t pack it too tightly.
Top with the Marinated Salmon
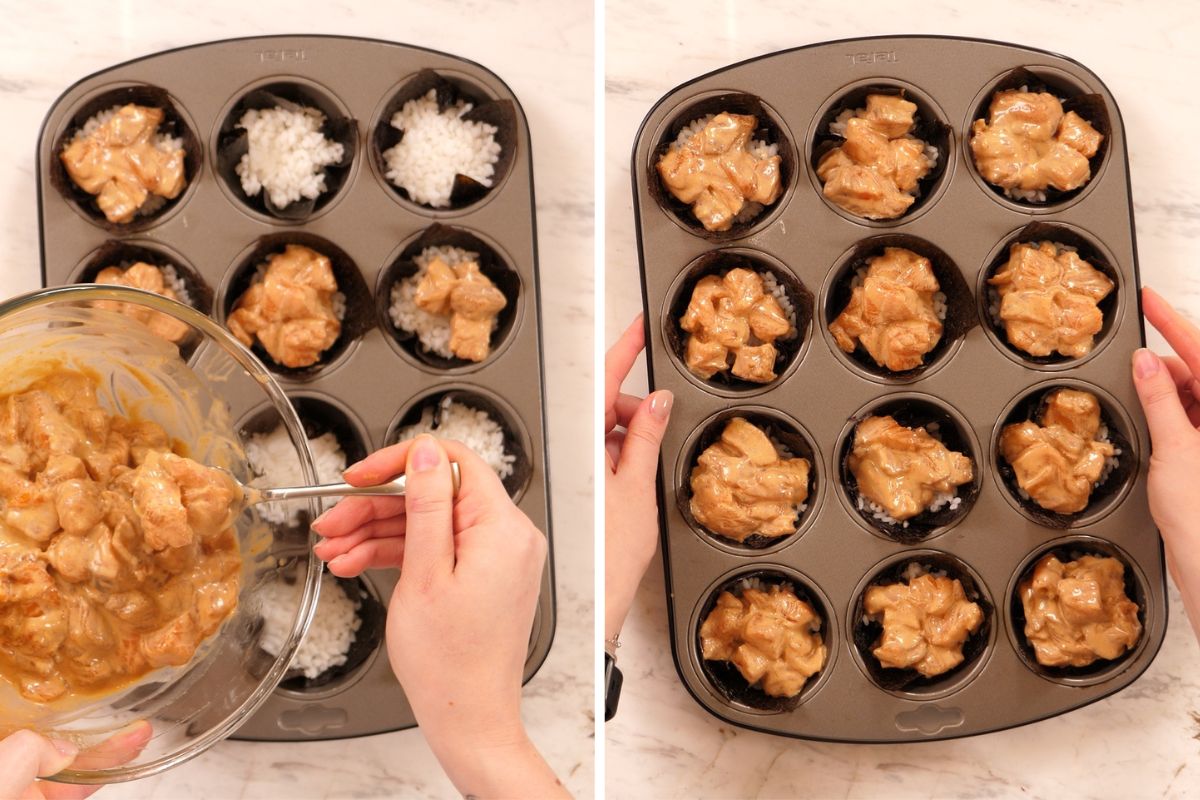
Now, spoon the marinated salmon over the rice in each cup, dividing it evenly. Make sure the salmon is layered in a way that it won’t spill over, and try to keep it centered for a clean look.
Bake to Golden Perfection
Preheat the oven to 400°F / 200°C.
Bake the sushi cups for 15 to 20 minutes, or until the salmon is cooked through, opaque, and flakes easily. If using a thermometer, the salmon should reach 145°F / 63°C in the center.
The nori edges should look lightly crisp, and the salmon should be tender, glossy, and slightly golden on top.
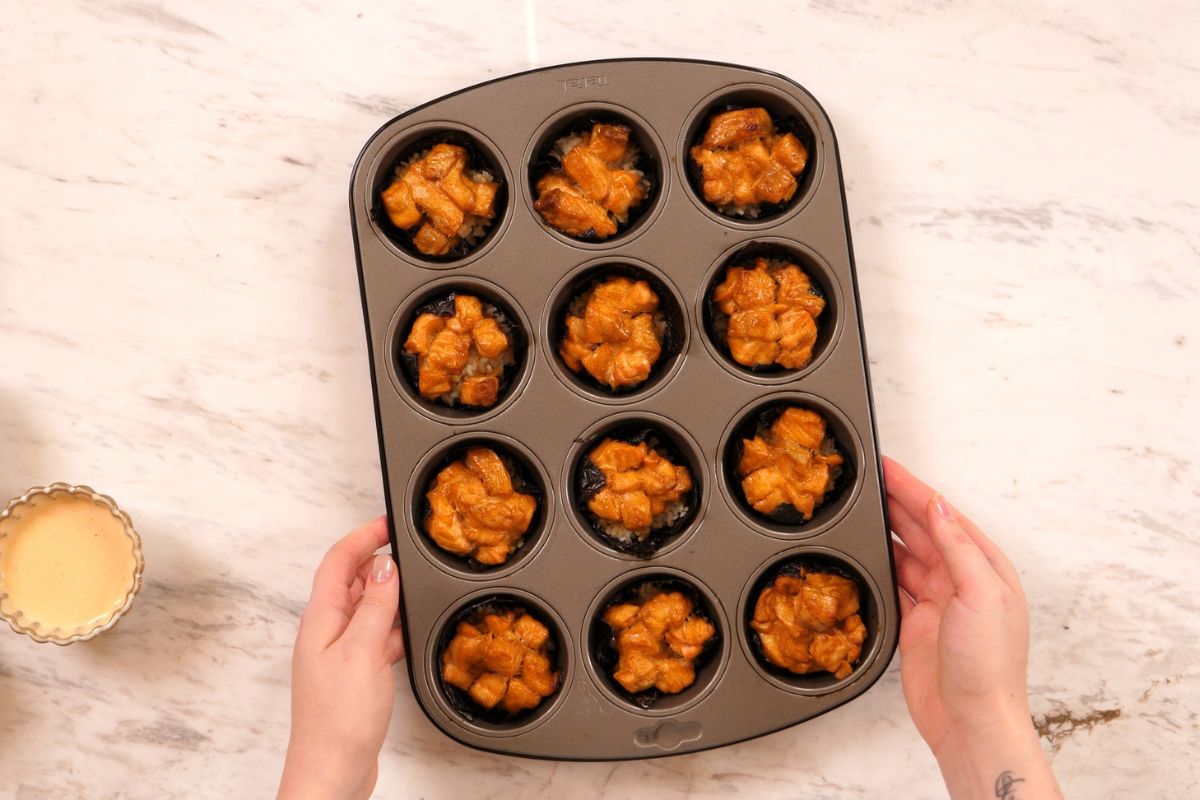
Add Toppings and Serve
Let the sushi cups cool in the muffin tin for about 5 minutes, then gently lift them out with a spoon.
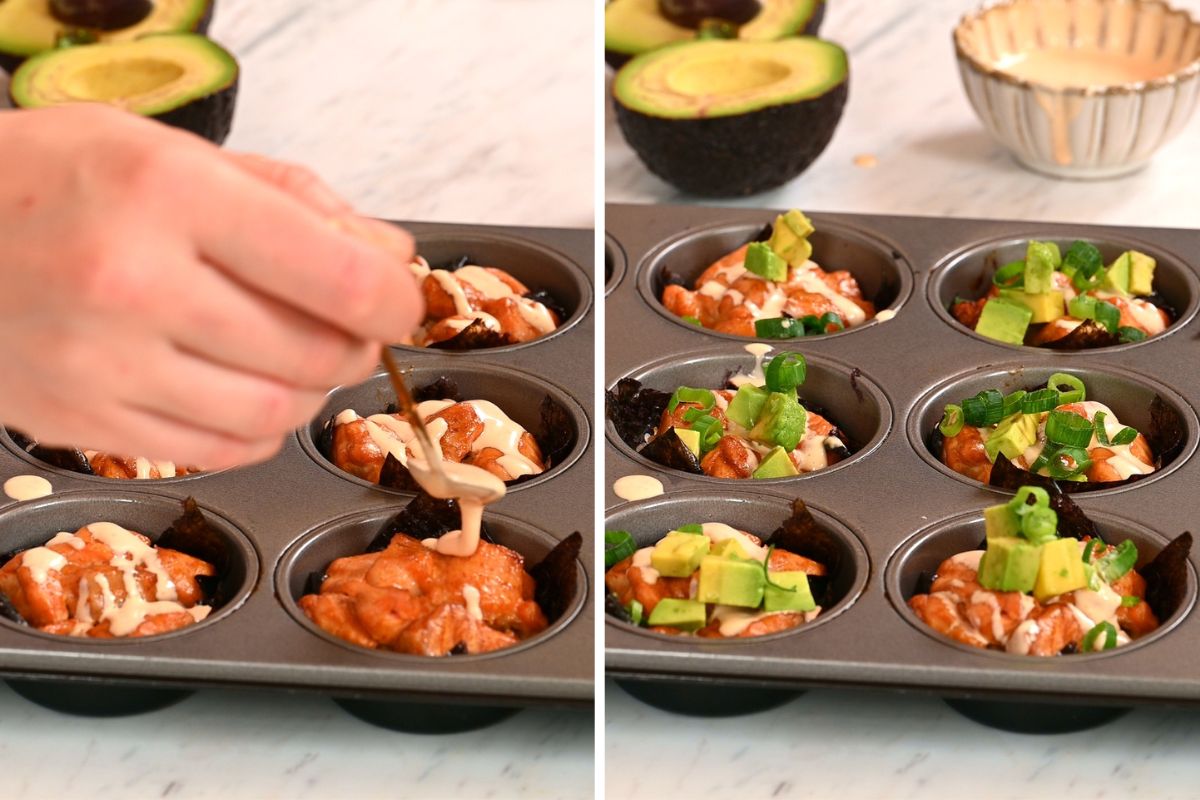
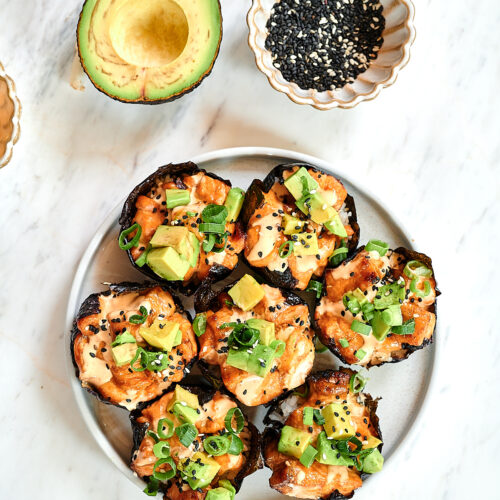
Top each one with sliced green onion, a thin slice of avocado, and a light sprinkle of toasted sesame seeds. If you like, add a little drizzle of extra Sriracha or soy sauce on top.
These are best served warm or slightly cooled, while the nori edges are still crisp. If serving them for a party, don’t leave them sitting out for more than 2 hours.
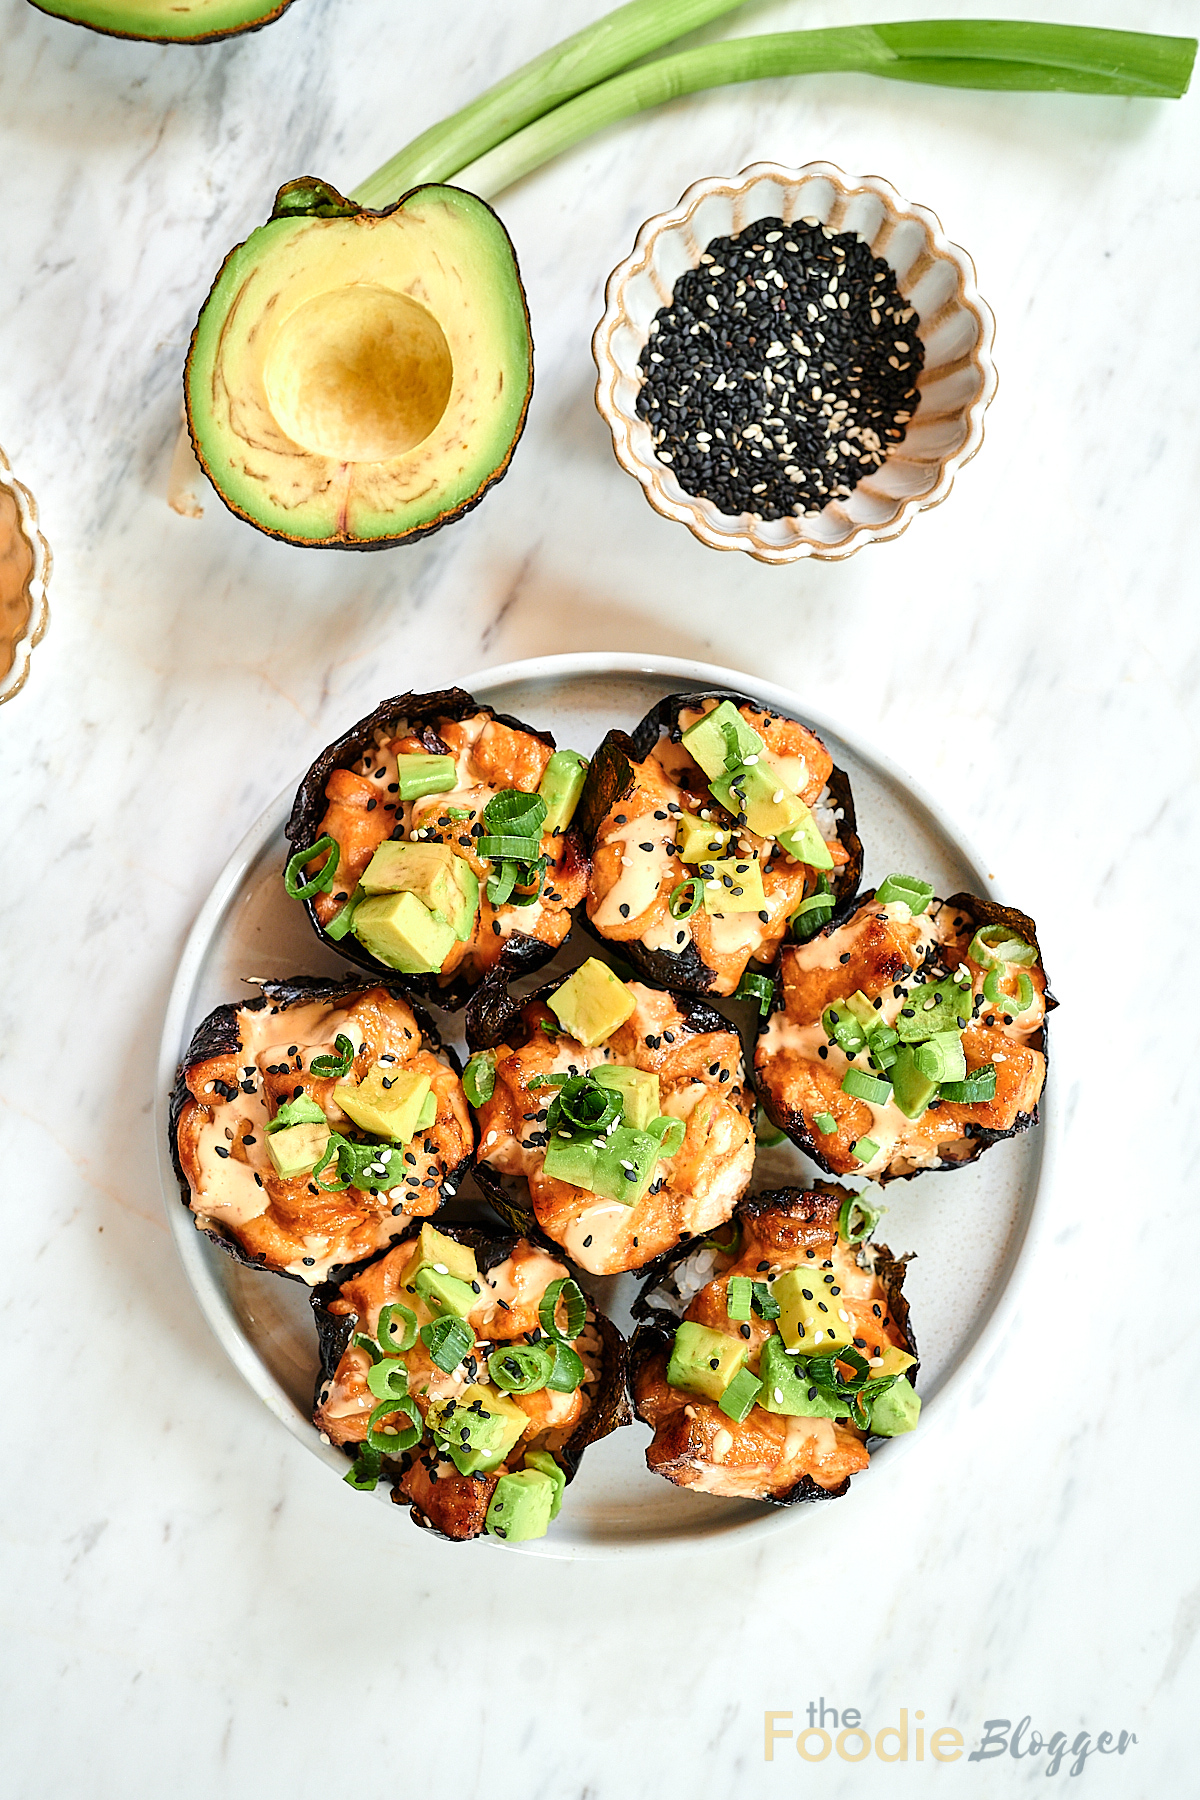
Variations & Add-Ins for Baked Salmon Sushi Cups
- Spicy Tuna Cups – Swap salmon for raw or canned tuna, and mix with the same Kewpie + Sriracha combo for a spicy tuna twist.
- Shrimp Tempura Cups – Add a piece of pre-cooked tempura shrimp on top of the rice before baking. Bake for a few minutes less or just warm them up in the oven.
- Veggie-Only Option – Go vegetarian by using a mix of cubed avocado, cucumber, shredded carrots, and tofu. Toss with soy sauce and sesame oil for flavor.
- Cream Cheese & Salmon – Mix a bit of cream cheese into the salmon for a creamy, sushi roll-inspired flavor—like a baked Philly roll!
- Extra Heat Lovers – Top with jalapeño slices, chili crisp, or a drizzle of spicy mayo before or after baking for serious heat.
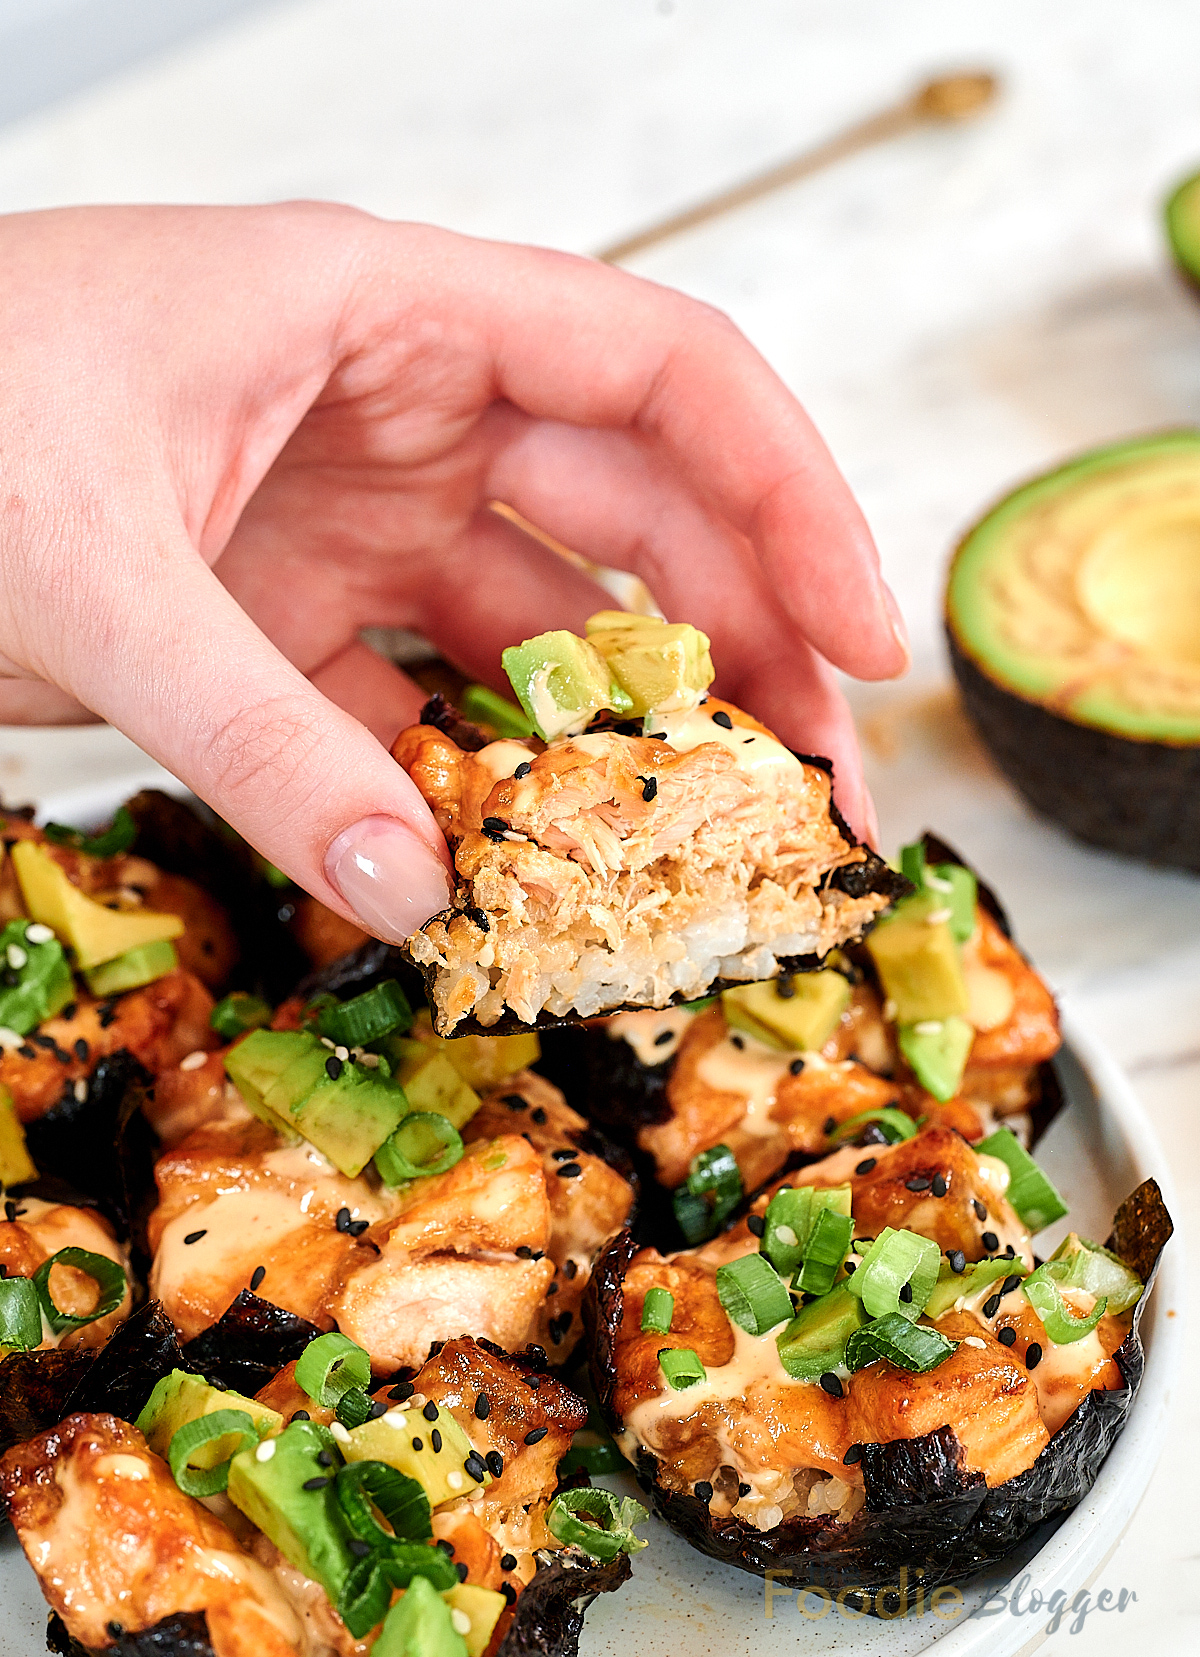
How To Store Baked Salmon Sushi Cups
These baked salmon sushi cups taste best fresh, while the nori edges are still lightly crisp.
Store any leftovers in an airtight container in the refrigerator for 1 to 2 days. The nori will soften as it sits, but the flavor will still be good.
To reheat, place them in the oven or air fryer at 350°F / 175°C for a few minutes, just until warmed through. I don’t recommend microwaving them unless you’re in a hurry, because the nori will become softer.
For the best texture, don’t leave cooked salmon and rice cups at room temperature for more than 2 hours.
Make-Ahead Tips
If you want to make these ahead, I recommend prepping the parts separately instead of assembling the cups too early.
You can cook and season the rice, cut the nori sheets, and mix the salmon with the marinade up to 1 day ahead. Store everything in separate airtight containers in the refrigerator.
When you’re ready to serve, press the nori into the muffin tin, add the rice and salmon, then bake.
Can You Freeze Baked Salmon Sushi Cups?
I don’t recommend freezing these sushi cups. The rice and nori can become soft and mushy after thawing, so they’re much better made fresh or stored in the fridge for a short time.
FAQs – Baked Salmon Sushi Cups
Can I Use Canned Salmon Instead Of Fresh?
Yes! Canned salmon works well if you’re short on time. Just drain it and mix it with the marinade as usual. Keep in mind it won’t be as juicy as fresh salmon.
Are They Gluten-Free?
They can be! Just use gluten-free soy sauce (like tamari) and double-check your sriracha and mayo labels.
More Quick Recipes
If you love these baked salmon sushi cups, here are a few more quick recipes to try next:
- Bang Bang Salmon – Crispy salmon bites tossed in a creamy sweet and spicy sauce. It’s ready in about 15 minutes and perfect for busy weeknights.
- Viral Smoked Salmon Chopped Salad – Fresh, crunchy, creamy, and packed with smoked salmon flavor. A great quick lunch when you want something lighter but still satisfying.
- Tuna Pasta Salad – An easy make-ahead recipe with pasta, tuna, vegetables, and a creamy dressing. Perfect for lunch, meal prep, or a simple dinner.
Baked Salmon Sushi Cups
Ingredients
For the Sushi Cups
- 3/4 cup uncooked sushi rice
- 1 cup water or as needed according to package directions
- 2 tbsp rice vinegar
- 2 tsp sugar
- 1/4 tsp salt
- 3 large nori sheets cut into 12 squares
- 1 lb salmon skin removed, cut into 1/2-inch cubes
For the Salmon Marinade
- 3 tbsp Kewpie mayo or regular mayonnaise
- 1 tbsp soy sauce or tamari
- 1 tbsp Sriracha or more to taste
- 1 tsp toasted sesame oil
For Topping
- 1 green onion sliced
- 1 avocado sliced or diced
- 1 tsp sesame seeds
- Extra Sriracha or spicy mayo optional
Instructions
- Rinse the sushi rice under cold water until the water runs mostly clear.
- Cook the rice with 1 cup water, or according to package directions. Once cooked, let it sit covered for 10 minutes.
- In a small bowl, mix the rice vinegar, powdered sweetener or sugar, and salt until dissolved. Gently fold the mixture into the warm rice. Let the rice cool slightly.
- Preheat the oven to 400°F / 200°C and lightly grease a standard 12-cup muffin tin.
- In a bowl, mix the cubed salmon with Kewpie mayo, soy sauce or tamari, Sriracha, and sesame oil. Let it sit for 10 to 15 minutes while you prepare the nori.
- Cut the nori sheets into 12 squares and press one square into each muffin cup.
- Add about 2 to 3 tablespoons of seasoned rice into each nori cup and press it down gently.
- Divide the marinated salmon evenly over the rice.
- Bake for 15 to 20 minutes, or until the salmon is opaque, flakes easily, and reaches 145°F / 63°C in the center.
- Let the sushi cups cool in the pan for 5 minutes, then gently lift them out with a spoon.
- Top with avocado, green onion, sesame seeds, and extra Sriracha or spicy mayo if desired.
- Serve warm or slightly cooled.
Notes
- Use tamari or gluten-free soy sauce if you want this recipe to be gluten-free.
- These sushi cups are best served fresh while the nori edges are still crisp.
- If using cooked sushi rice, this recipe will come together much faster.
- Don’t leave cooked salmon and rice cups at room temperature for more than 2 hours.
- I don’t recommend freezing because the rice and nori can become mushy after thawing.
Nutrition Information
The nutritional information provided on this website is intended to be a helpful reference and convenience for our users. It is offered as a courtesy and is based on data primarily sourced from the USDA Food Composition Database.
We kindly request that you do not take screenshots or copy/paste our recipes to social media or other websites. We would greatly appreciate it if you could instead share a link to our recipe along with a photo.